Pair sensors for zone control
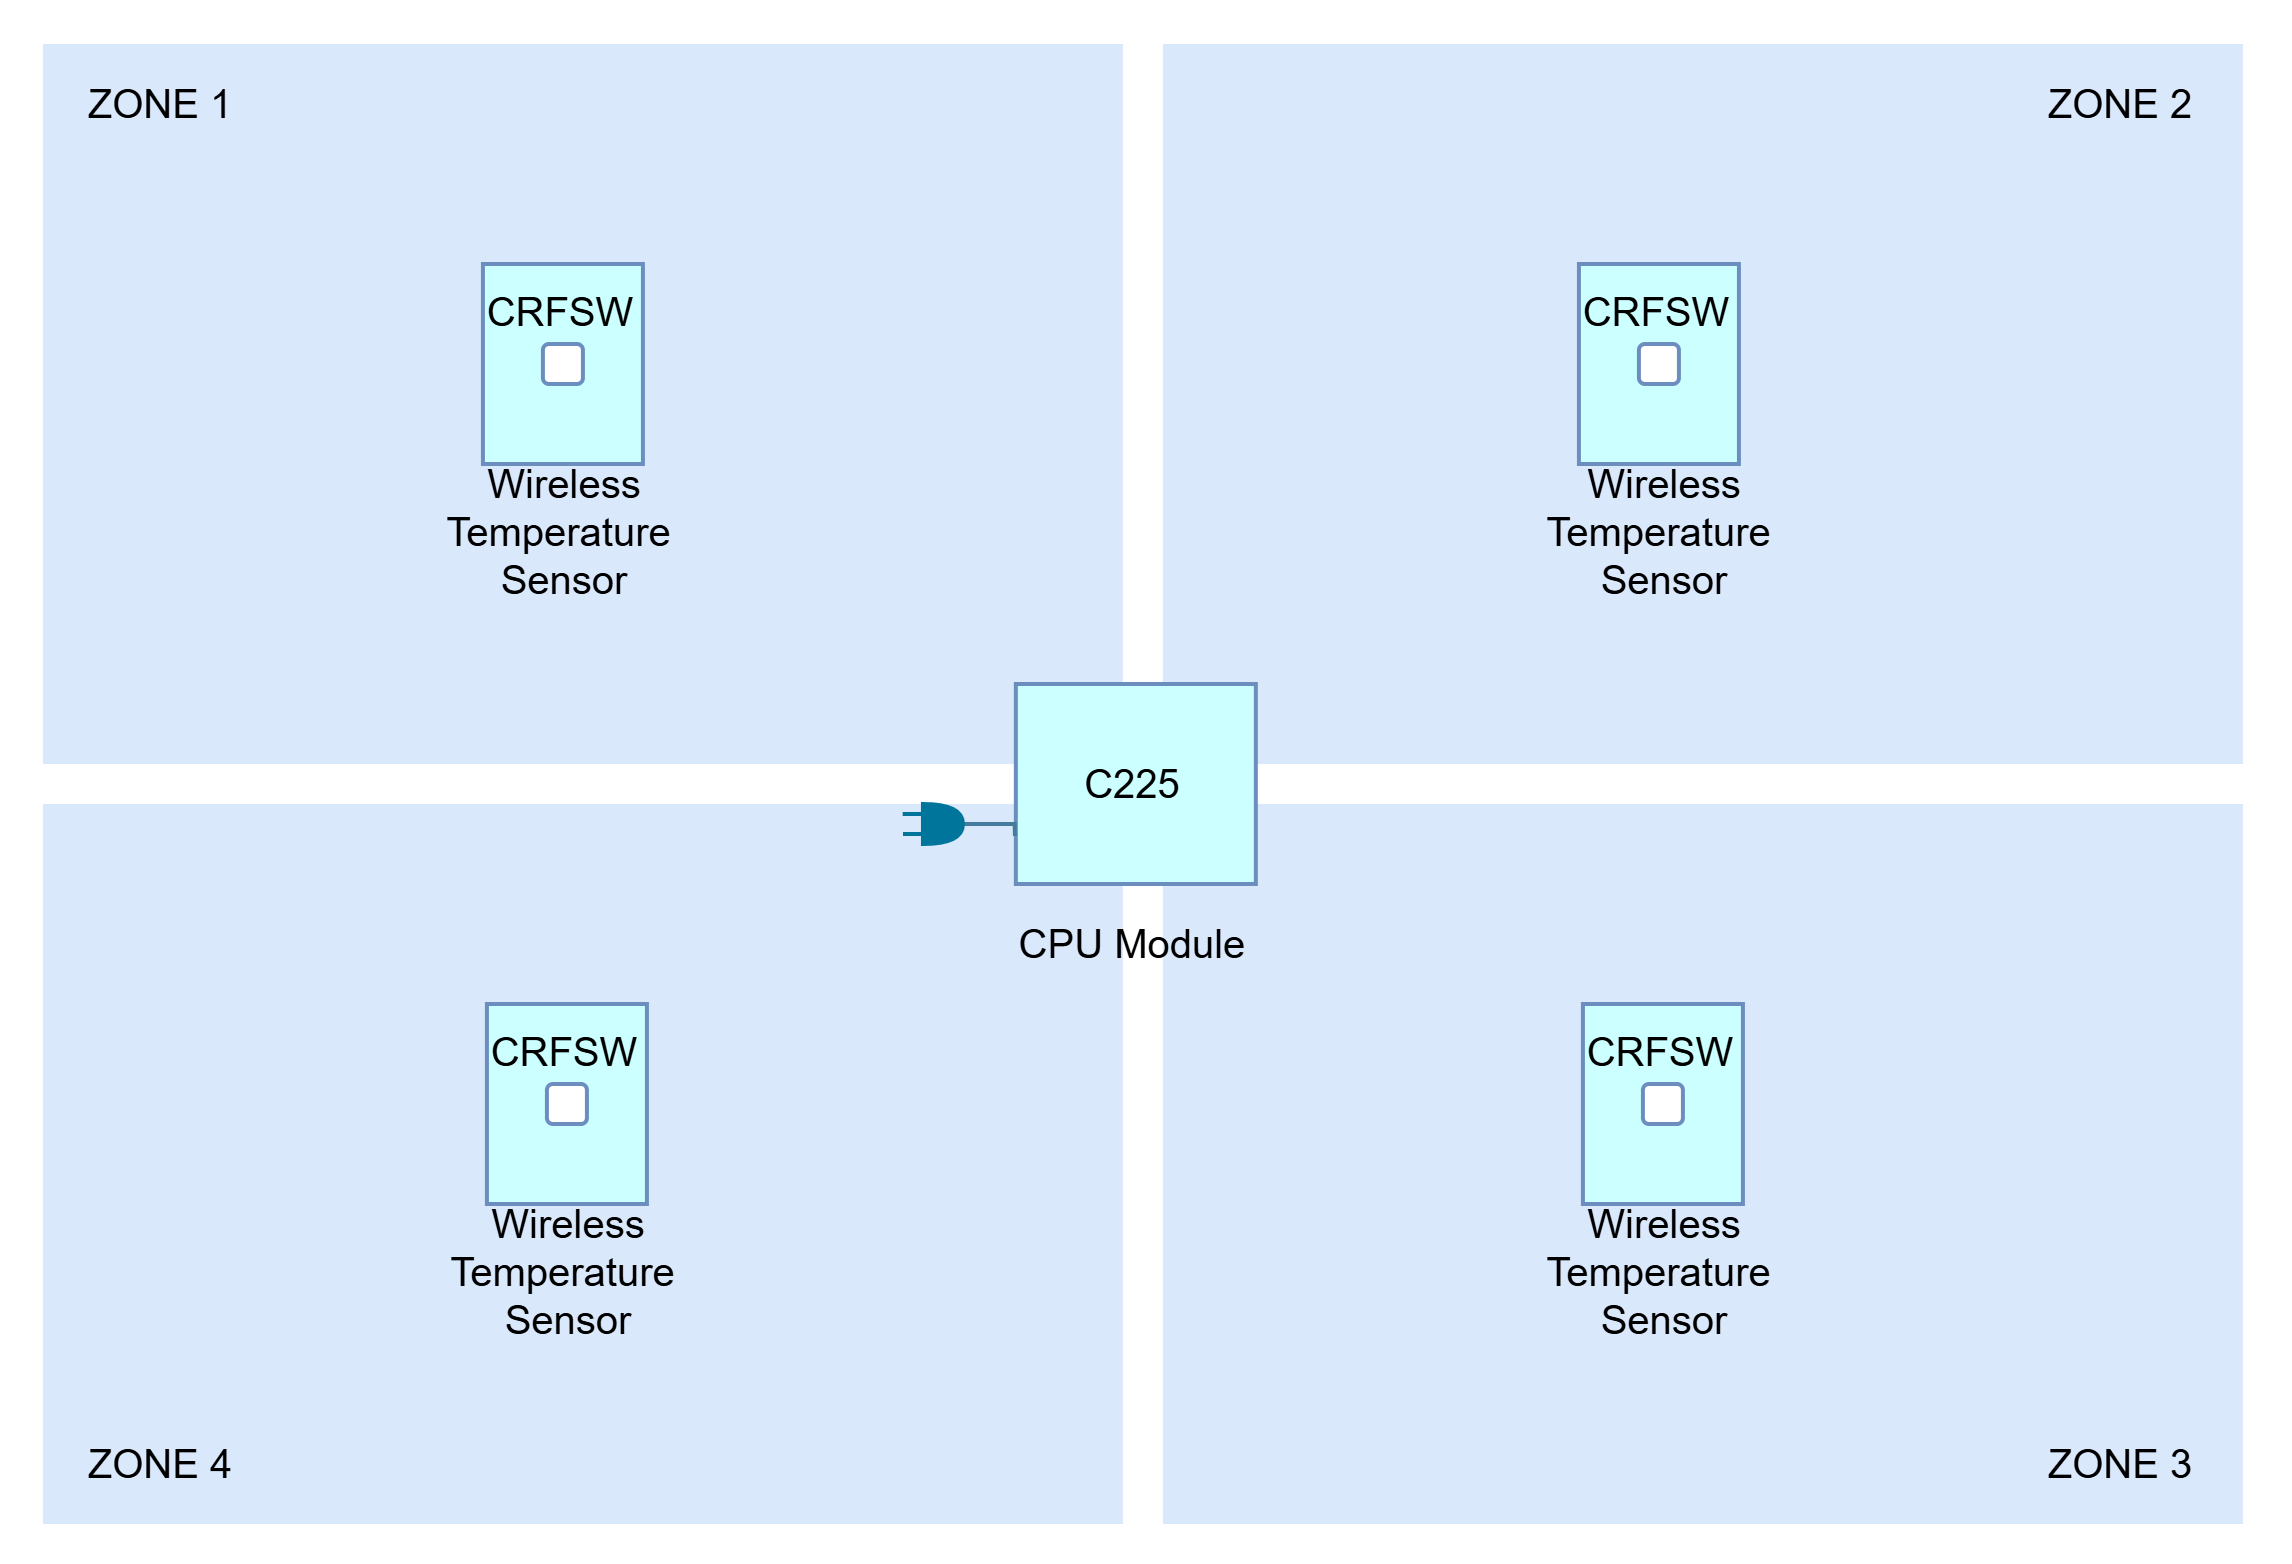
This involves installing a sensor for each room/zone. Read more about Zone control.
Nexus interface
Pairing sensors
Refer to video or follow these steps:
- Carefully remove the sensor cover using a small flathead screwdriver.
- Remove the battery isolation tab.
- Press and hold the PAIR button on the sensor.
- On the wall controller, press the PAIR icon.
- The blue LED on the sensor will flash rapidly, and the wall controller will display pairing progress.
- Using a small flathead screwdriver, set the DIP switch on the sensor to match the zone number (1-14) where the sensor will be installed.
- Return to the main menu and open the Zone Summary screen.
- Press the button on the sensor:
- When the LED turns blue, the zone status changes to Climate Control.
- When the LED turns red, the zone status changes to Closed.
- Verify that the controller displays setpoint temperature, actual room temperature and induct temperature
- Refit the sensor cover and mount the sensor on the wall
Ensure Zone control
- On the Nexus wall controller, navigate to:
- Settings → Configuration → Configure Aircon
- Enter the system password: WAMFUD
- Select the ZONES tab
- Change the zone type to WIRELESS
- Select the AC UNIT tab
- Change the Controlling Sensor setting to ZONES
Nova interface
Pairing sensors
- Carefully remove the sensor cover using a small flathead screwdriver.
- Remove the battery isolation tab.
- Press and hold the PAIR button on the sensor.
- On the Nova interface
- Select MENU → Devices → Add Device (+) → Airconditioning → Temperature sensors → Wireless zone temperature sensor
- Select the zone number
- Tap NEXT
- Tap PAIR
- The blue LED on the sensor will flash rapidly, and the wall controller will display pairing progress.
- Using a small flathead screwdriver, set the DIP switch on the sensor to match the zone number (1-14) where the sensor will be installed.
- Return to the home page by tapping HOME
- Press the button on the sensor:
- When the LED turns blue, the zone pinned device will change to blue
- When the LED turns red, the zone pinned device will change to white
- Goto the zone control page:
- On the home page, tap and hold on a zone pinned device
- Verify that the page displays setpoint temperature, actual room temperature and induct temperature. Note that it can take up to 2 minutes for the actual temperature to show on this page.
- Refit the sensor cover and mount the sensor on the wall
Ensure Zone control
On the Nova interface:
- Select MENU → Settings → Installer → Enter installer code. Register as an installer if you don't have an installer code.
- Select MENU → Settings → Select the system under System Settings → AC Unit
- For Control Sensor, choose Zone