Navi User Guide
For guidance on setting up the wall controller, see the Navi Setup Guide. The Navi wall controller forms part of the Navi Zone Control Kit (C265K).
Wall controller
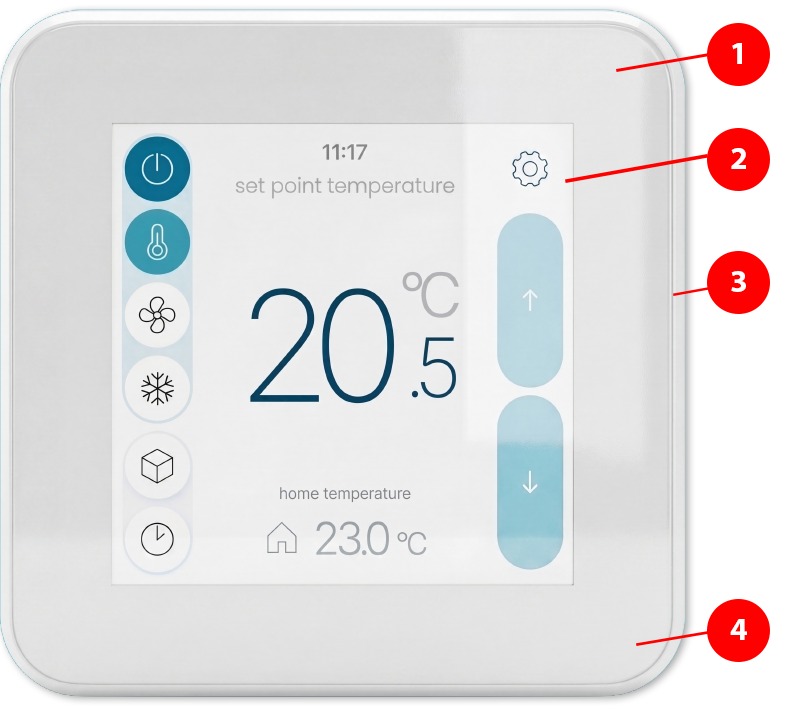
- AC on/off LED - LED is ON when the AC unit is running. This LED can be turned off, refer to Settings below.
- Home screen - Managed by an Android operating system and explained further down below.
- Reset button - The side button reboots the wall controller and not the AC system.
- Built in temperature sensor - Change Sensor Type to Master in order to control the AC unit from this temperature sensor. Refer to the Navi Setup Guide for more information.
Home screen
The Home screen provides a simple, intuitive interface that supports familiar gestures such as tap, pinch, and swipe. Key system information and controls are presented clearly, allowing homeowners to navigate and adjust their AC settings with ease. Refer to Navi Setup Guide for setup instructions.
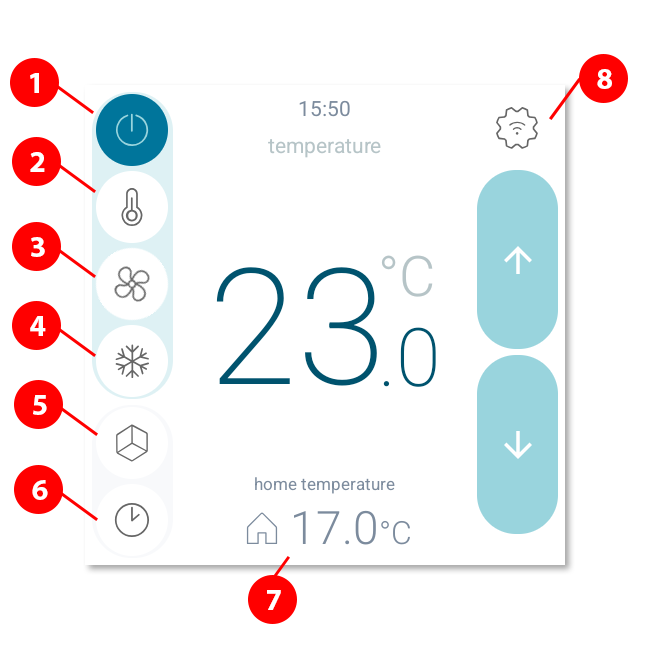
(1) AC On/Off
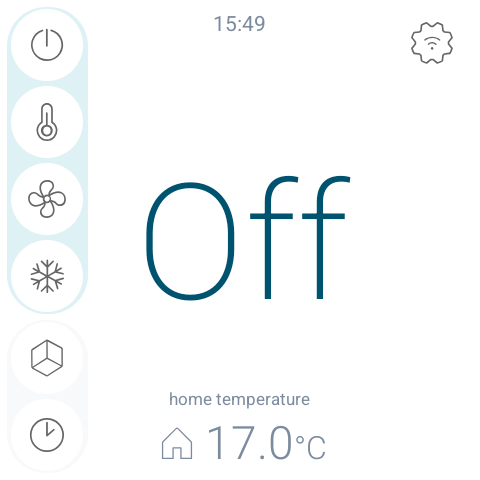
The AC unit can be turned on by tapping the On/Off button. When the system is running, the button will be highlighted. Please note that all AC units incorporate built-in timers and delays, so it may take several minutes after turning a unit on or off before any change becomes noticeable.
To turn the AC unit off, tap the On/Off button again. An off countdown bar will appear, giving the user the opportunity to select an Off Sleep Timer. When a timer is set, the AC system will continue to run for the selected duration and then switch off automatically.
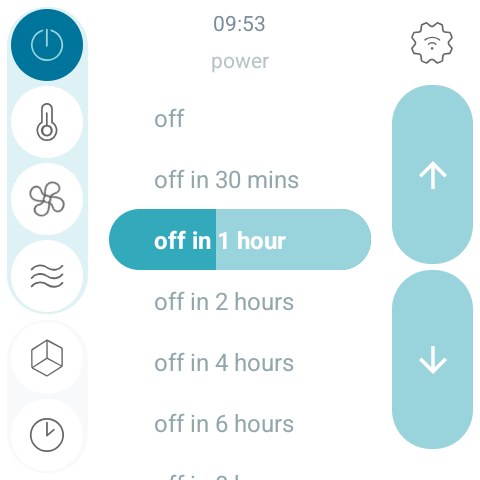
(2) Climate control page
The current controlling setpoint is displayed on this page. The layout and controls vary depending on what Sensor Type has been configured. Refer to the AC Unit Control Sensors documentation for detailed information on each sensor type.
Sensor type: Return Air or Master
Adjust the required setpoint for the AC unit when the Sensor Type is set to Return Air or Master.
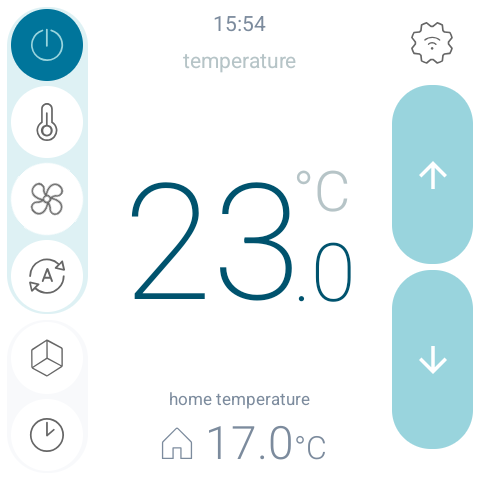
Sensor type: Zone
When the Sensor Type is set to Zones, the setpoint can only be adjusted per individual zone.
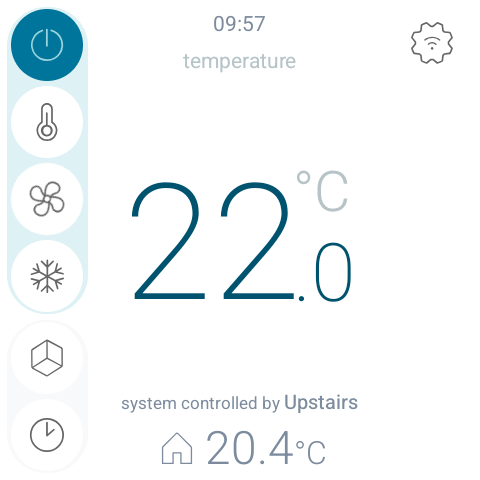
(3) Fan speed
Adjust the AC Unit's fan speed. The fan speed options will change depending on the AC Unit brand.
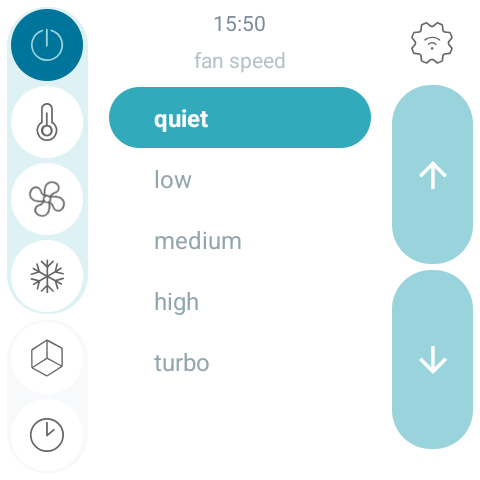
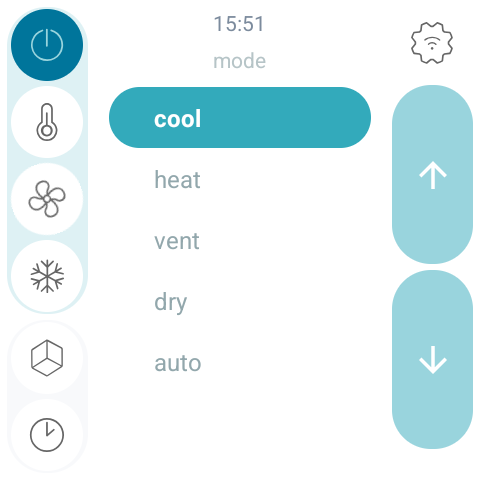
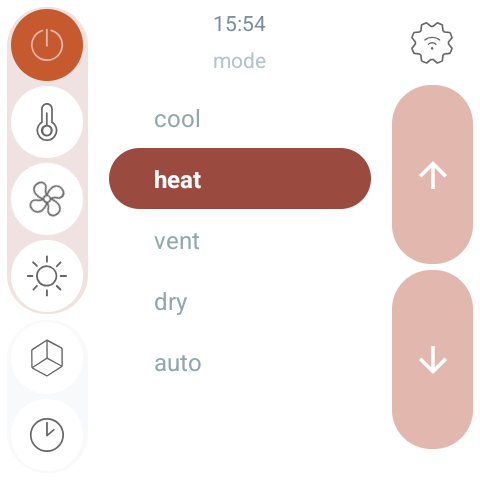
(4) AC mode
Press the Mode button to change from Cool > Heat > Dry > Vent > Auto mode. The colour of the screen will change between heating and cooling modes. This can be changed by referring to Settings below.
(5) Zone control
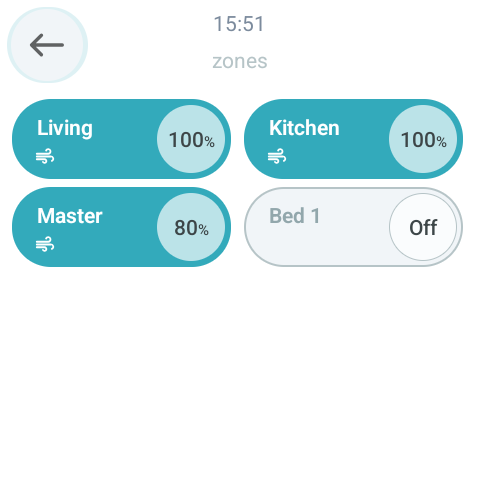
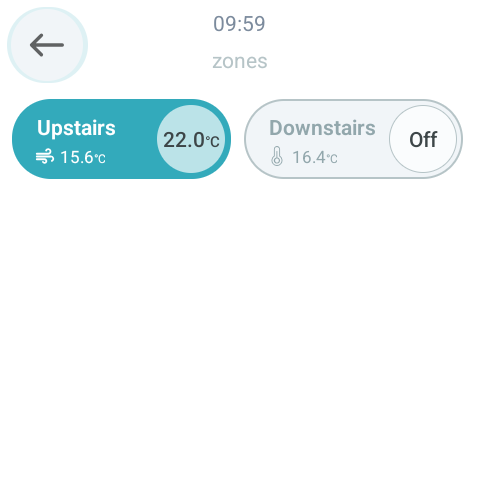
You can open or close zones by tapping the zone button. The button is highlighted when the zone is open (airflow is delivered through the vent) and not highlighted when the zone is closed. The percentage value inside the circle shows how far the vent is open — 100% when fully open and 0% when fully closed. You can adjust the airflow percentage by tapping on the circle within the zone button.
The Navi controller also allows you to adjust the required temperature for each zone. This feature is only available when the Sensor Type is set to Zones. The Navi wall controller is assigned to each zone as the zone temperature sensor.
Sensor type: Return Air or Master
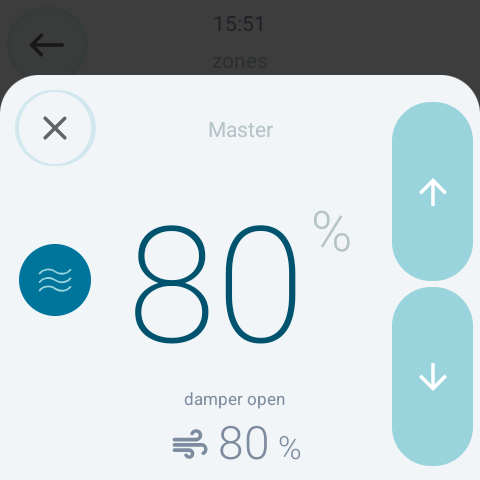
Adjust the airflow for a zone between 0% and 100% in 5% increments.
Sensor type: Zone
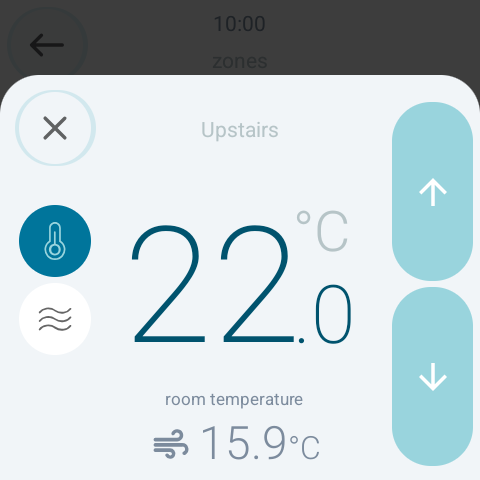
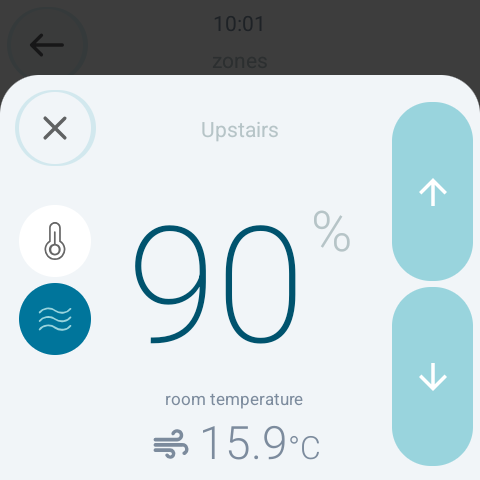
You can adjust both the airflow and the temperature setpoint of a zone when the Sensor Type is set to Zones. When the airflow button is selected, the zone will not attempt to control temperature — it will simply open the vent to the selected airflow percentage. To enable automatic temperature control, select the temperature control button on this page.
(6) Scheduling
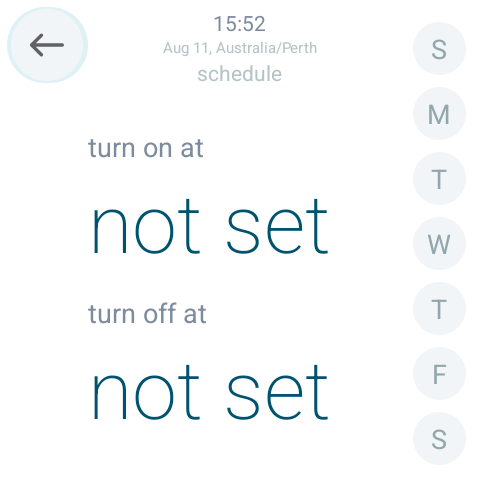
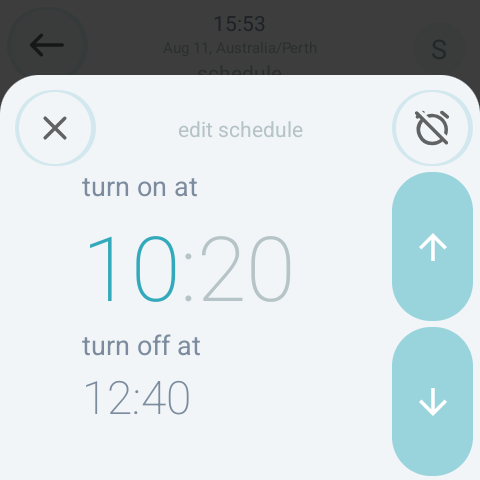
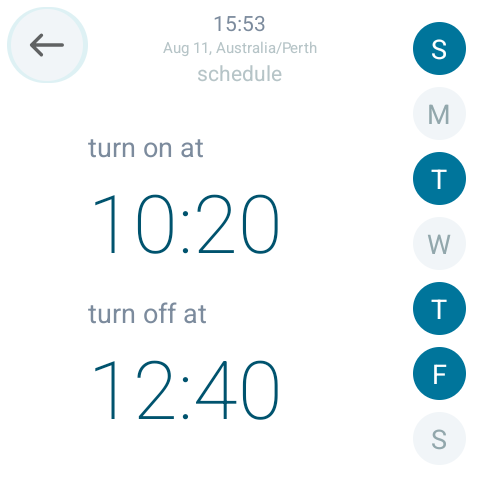
Create a schedule to turn the AC unit on or off at a specific time. A user can set an On Time, an Off Time, or both. To enable a schedule, select at least one of the workday buttons on the right. To disable a schedule, simply deselect all workday buttons.
When a schedule turns the AC unit on, the system will start using the current AC mode, fan speed, set point and zone selections.
(7) System status
The value will normally represent the actual AC controlling temperature but will also show system error messages when applicable.
(8) Settings
Refer to the Navi Setup Guide for a detailed explanation aimed at HVAC installers. The settings below highlight the options relevant to homeowners.
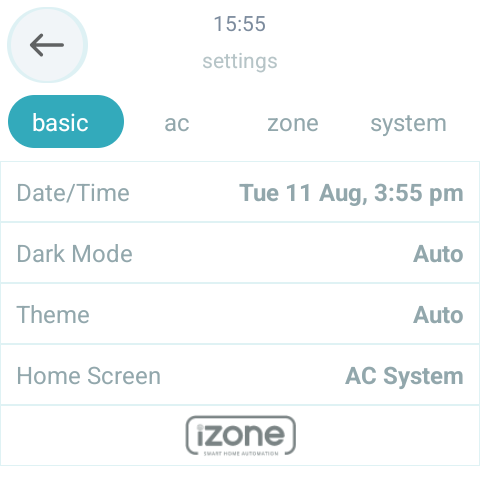
Basic settings
- Date/Time: Change current system date/time
- Dark Mode:
- Light - White background
- Dark - Black background
- Auto - Automatically change between Light mode and Dark mode depending on the time of day
- Theme:
- Warm - Orange theme
- Cool - Blue theme
- Auto - Orange theme when in AC Heat mode and blue theme when in AC Cool/Vent/Dry mode
- Home Screen:
- AC System - Shows AC on/off, AC setpoint, AC fan speeds, AC modes, zone control
- Zone only - Shows a single zone on the home screen. All AC functions are hidden. This allows for a Navi controller to serve as an indidiual zone controller.
- Zone list - Shows all the zones on the home screen and hide all AC functions. The Navi controller can serve as a zone controller without AC functions.
AC settings
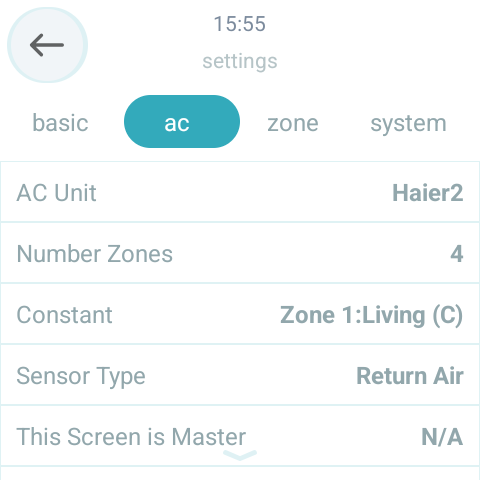
These are installer settings and should not be adjusted by homeowners.
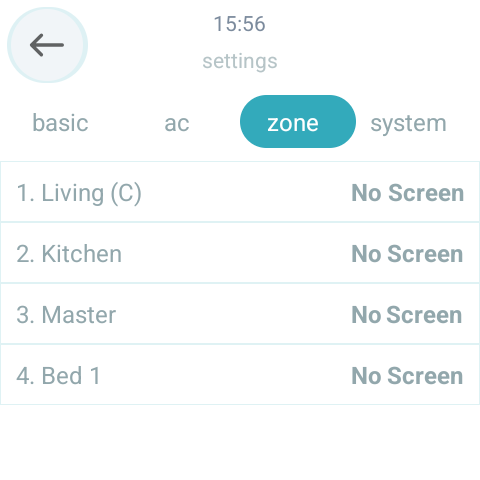
Zone settings
Allows a user to set the name of each zone. Tap on a zone to choose a name from the predefined list, or customise zone names using the mobile app if you prefer manual editing. The sensor options are fixed by the installer and shouldn't be changed.
System settings
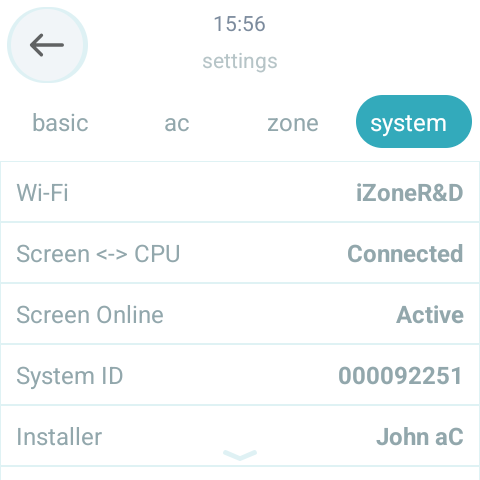
- Wi-Fi: Connect the Navi controller to your local Wi-Fi network.
- Screen - CPU: Displays the communication status between the various iZone modules installed in the home.
- Screen Online: Indicates whether the Navi controller is connected to the iZone Cloud server and can be controlled from a mobile device. Tap this option to disable remote/mobile control. When multiple Navi controllers are installed in a single home, only one can have Screen Online enabled. It is recommended to enable this on the controller with the strongest Wi-Fi reception.
- System ID: The unique system number used for remote mobile control.
- Installer: The name of the HVAC installer who commissioned the system.
- Firmware: Software version numbers for the various control modules installed in the home.
- Screen ID: The unique ID of the Navi controller, used for support purposes.
- Remote support: Toggle to enable remote support for 7 days
- Version: The software version number of the Navi controller.