Nova User Guide
Header section
Date/time
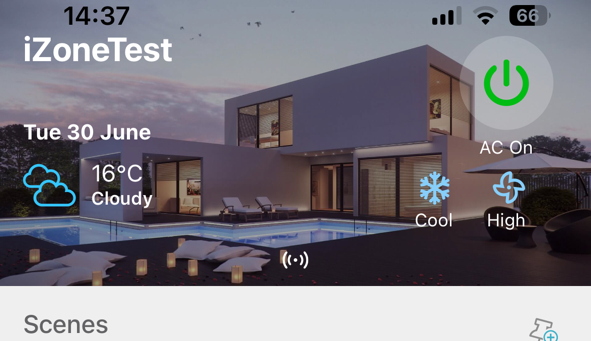
The system date and time configured in the iZone system are displayed in the top-left corner of the header.
AC system status
The AC system status displays power state, operating mode, and fan speed. To turn the system ON or OFF, tap the power icon. The icon will change from red (OFF) to green (ON). To adjust operating mode or temperature setpoint, tap any of the AC status icons.
If multiple AC systems have been installed in your property, the home screen will show selecter switches. Swipe left/right to select between the different AC systems.
Temperature tab
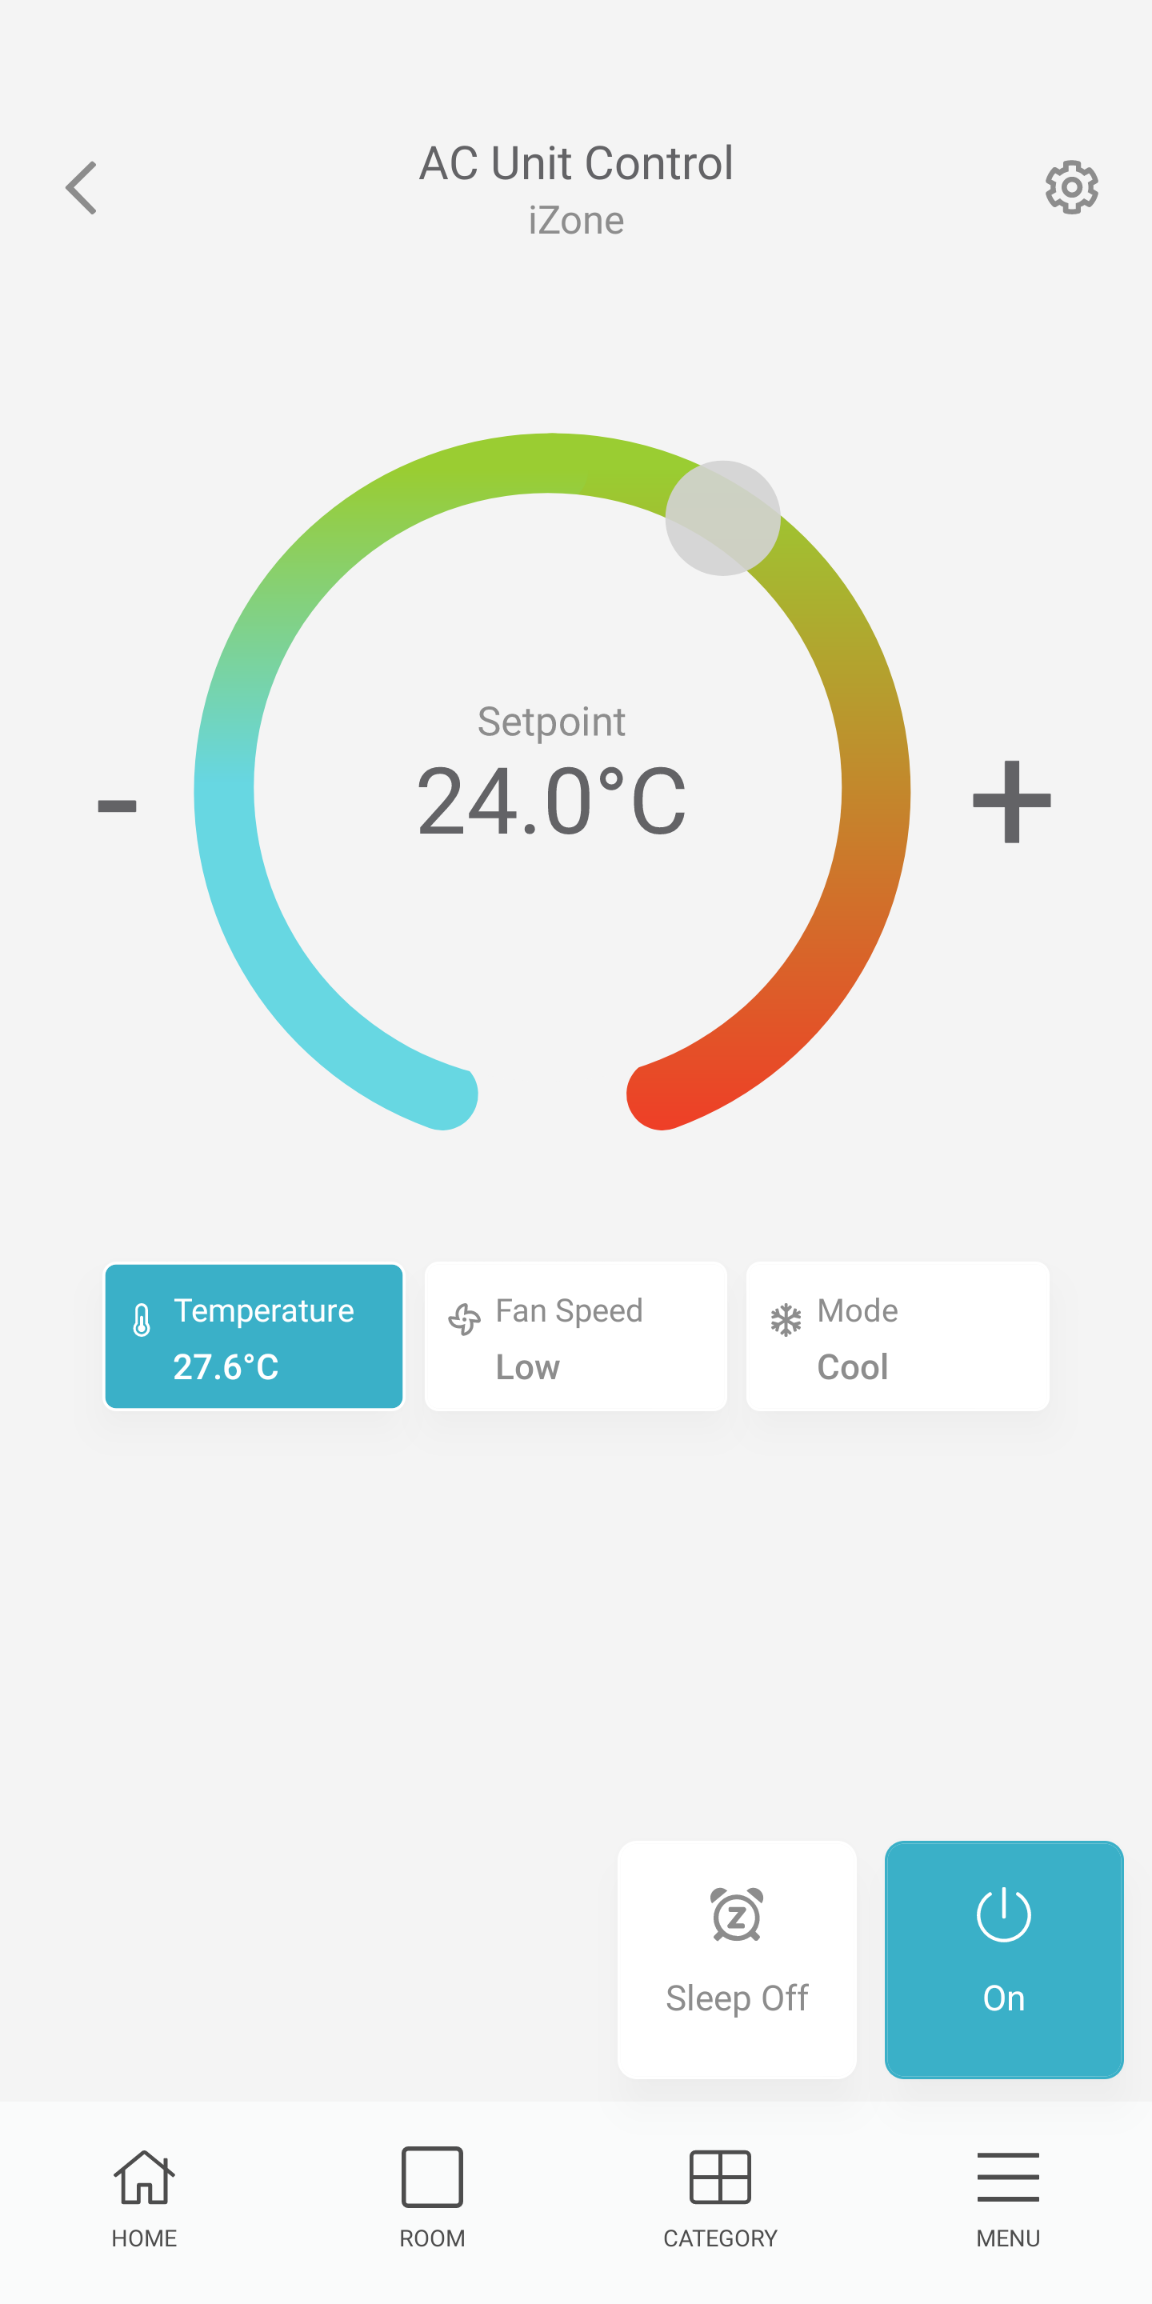
If zone temperature sensors are installed and all zones are set to CLIMATE, the interface will display the zone currently controlling the AC unit. In this configuration, the system setpoint cannot be manually adjusted. If no zone temperature sensors are installed, the temperature dial controls the system setpoint directly. The AC unit name can be modified via the settings icon located in the top-right corner.
Fan speed tab
Fan speed is adjusted from this tab. Available options depend on the AC unit and typically include Low, Medium, High and Auto. When Auto fan is selected, fan speed is automatically adjusted based on the number of active zones. This function must be configured by the installer, including correct zone area allocation.
Mode tab
The available operating modes are:
- Cool - System provides cooling and cycles off when all zones reach setpoint
- Heat - System provides heating and cycles off when all zones reach setpoint
- Vent - Fan operates without heating or cooling
- Dry - Reduces humidity by cooling and fan at low speed
- Auto - Automatically selects heating or cooling based on system conditions and setpoint
Smart hub status
A status icon indicates the Smart Hub communication state. A red indicator denotes a communication fault within the system.
- Wi-Fi icon - Indicates local network connectivity
- Globe icon - Indicates remote/cloud connectivity
Body
Pinned scenes
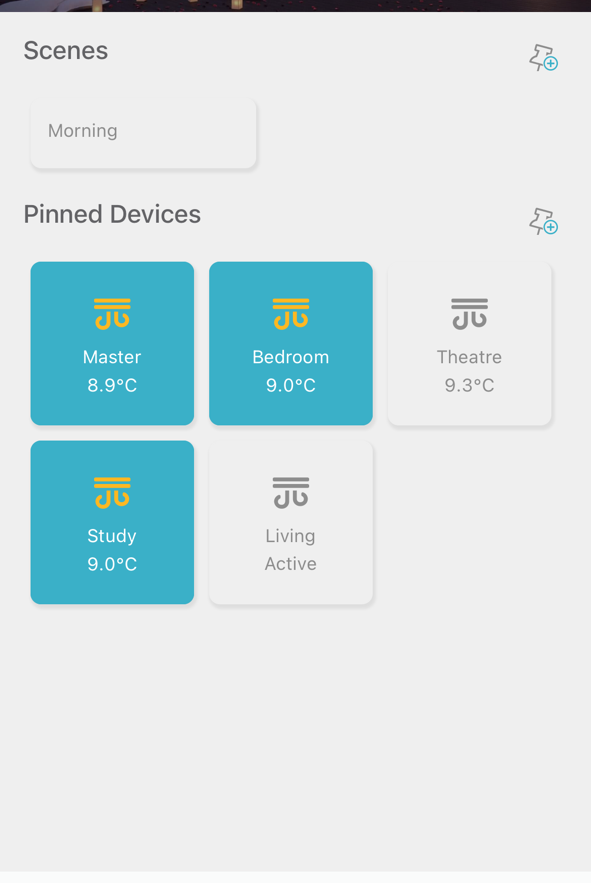
Provides quick access to frequently used scenes. Refer to Scenes below for a better descriptions of what scenes are and how they work. You can hide/unhide this section:
- Tap on MENU → Location → Settings
- Select the location name
- Scroll down and select/unselect Hide Pinned Scenes
Pinned devices
Provides quick access to frequently used devices. Each tile represents a device in a home. Tap on a tile to change the status of the device e.g. if blue, then a zone is on. If white, the zone is closed. To change the properties of a device, tap and hold the device.
To pin/unpin devices:
- Tap on CATEGORIES
- Select the category e.g. Airconditioning
- Select the zone that must be pinned/unpinned
- Select/unselect the Pin select in the top right of the screen
Navigation bar
HOME
Displays the home screen with access to all Aircondinting systems as well as pinned devices.
ROOM
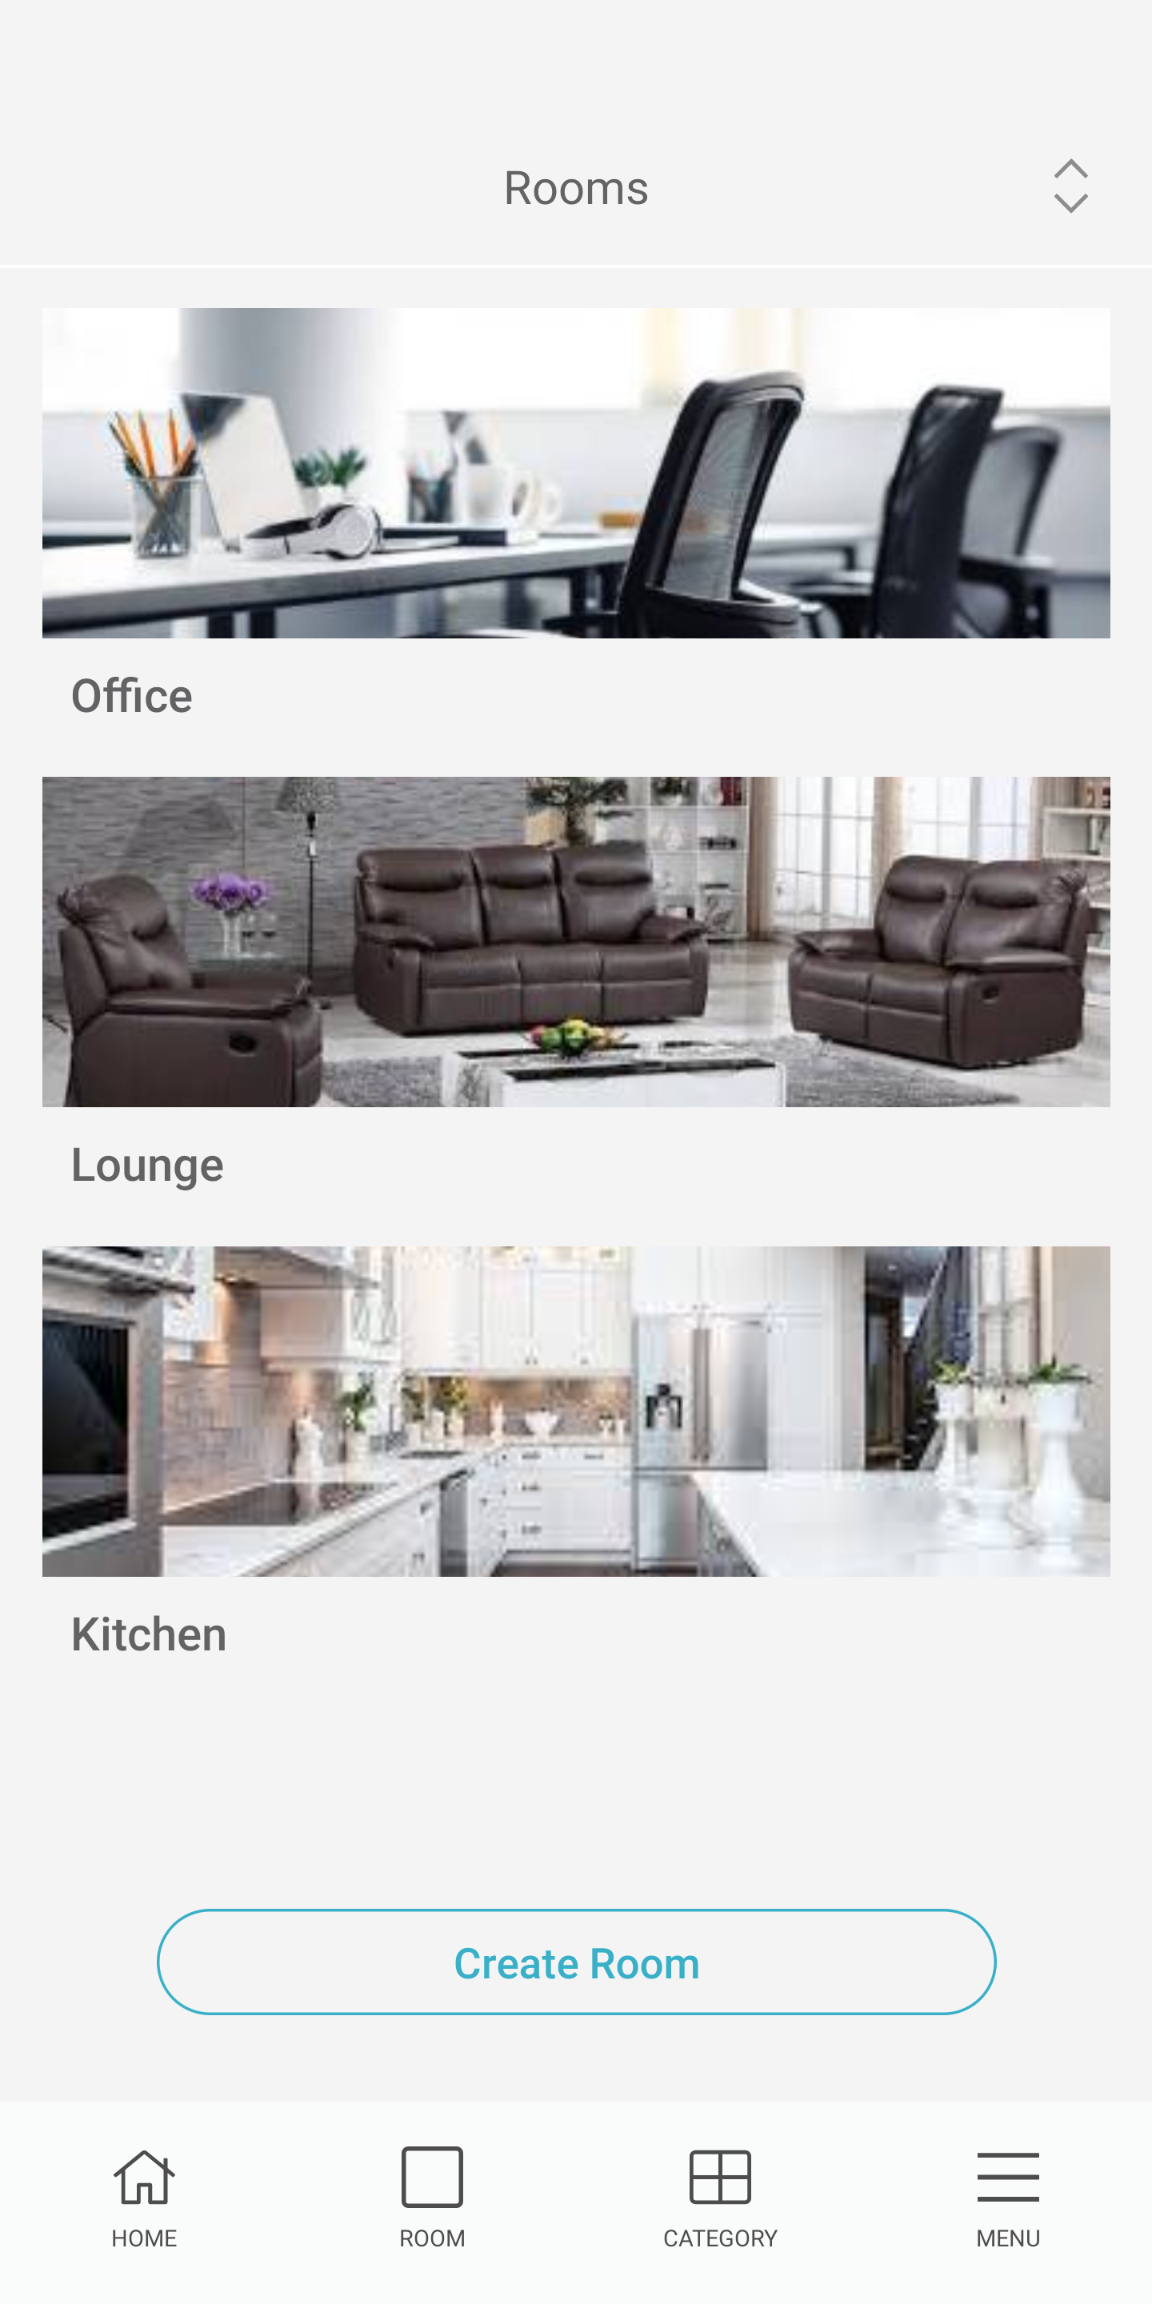
This feature allows devices to be logically grouped based on physical areas within a property, providing a customised view of related controls. Users can create a room, assign a name and select which devices (e.g. zones, sensors, lighting) should be included. Once configured, selecting a room will display all associated devices, allowing grouped monitoring and control within a single view.
CATEGORY
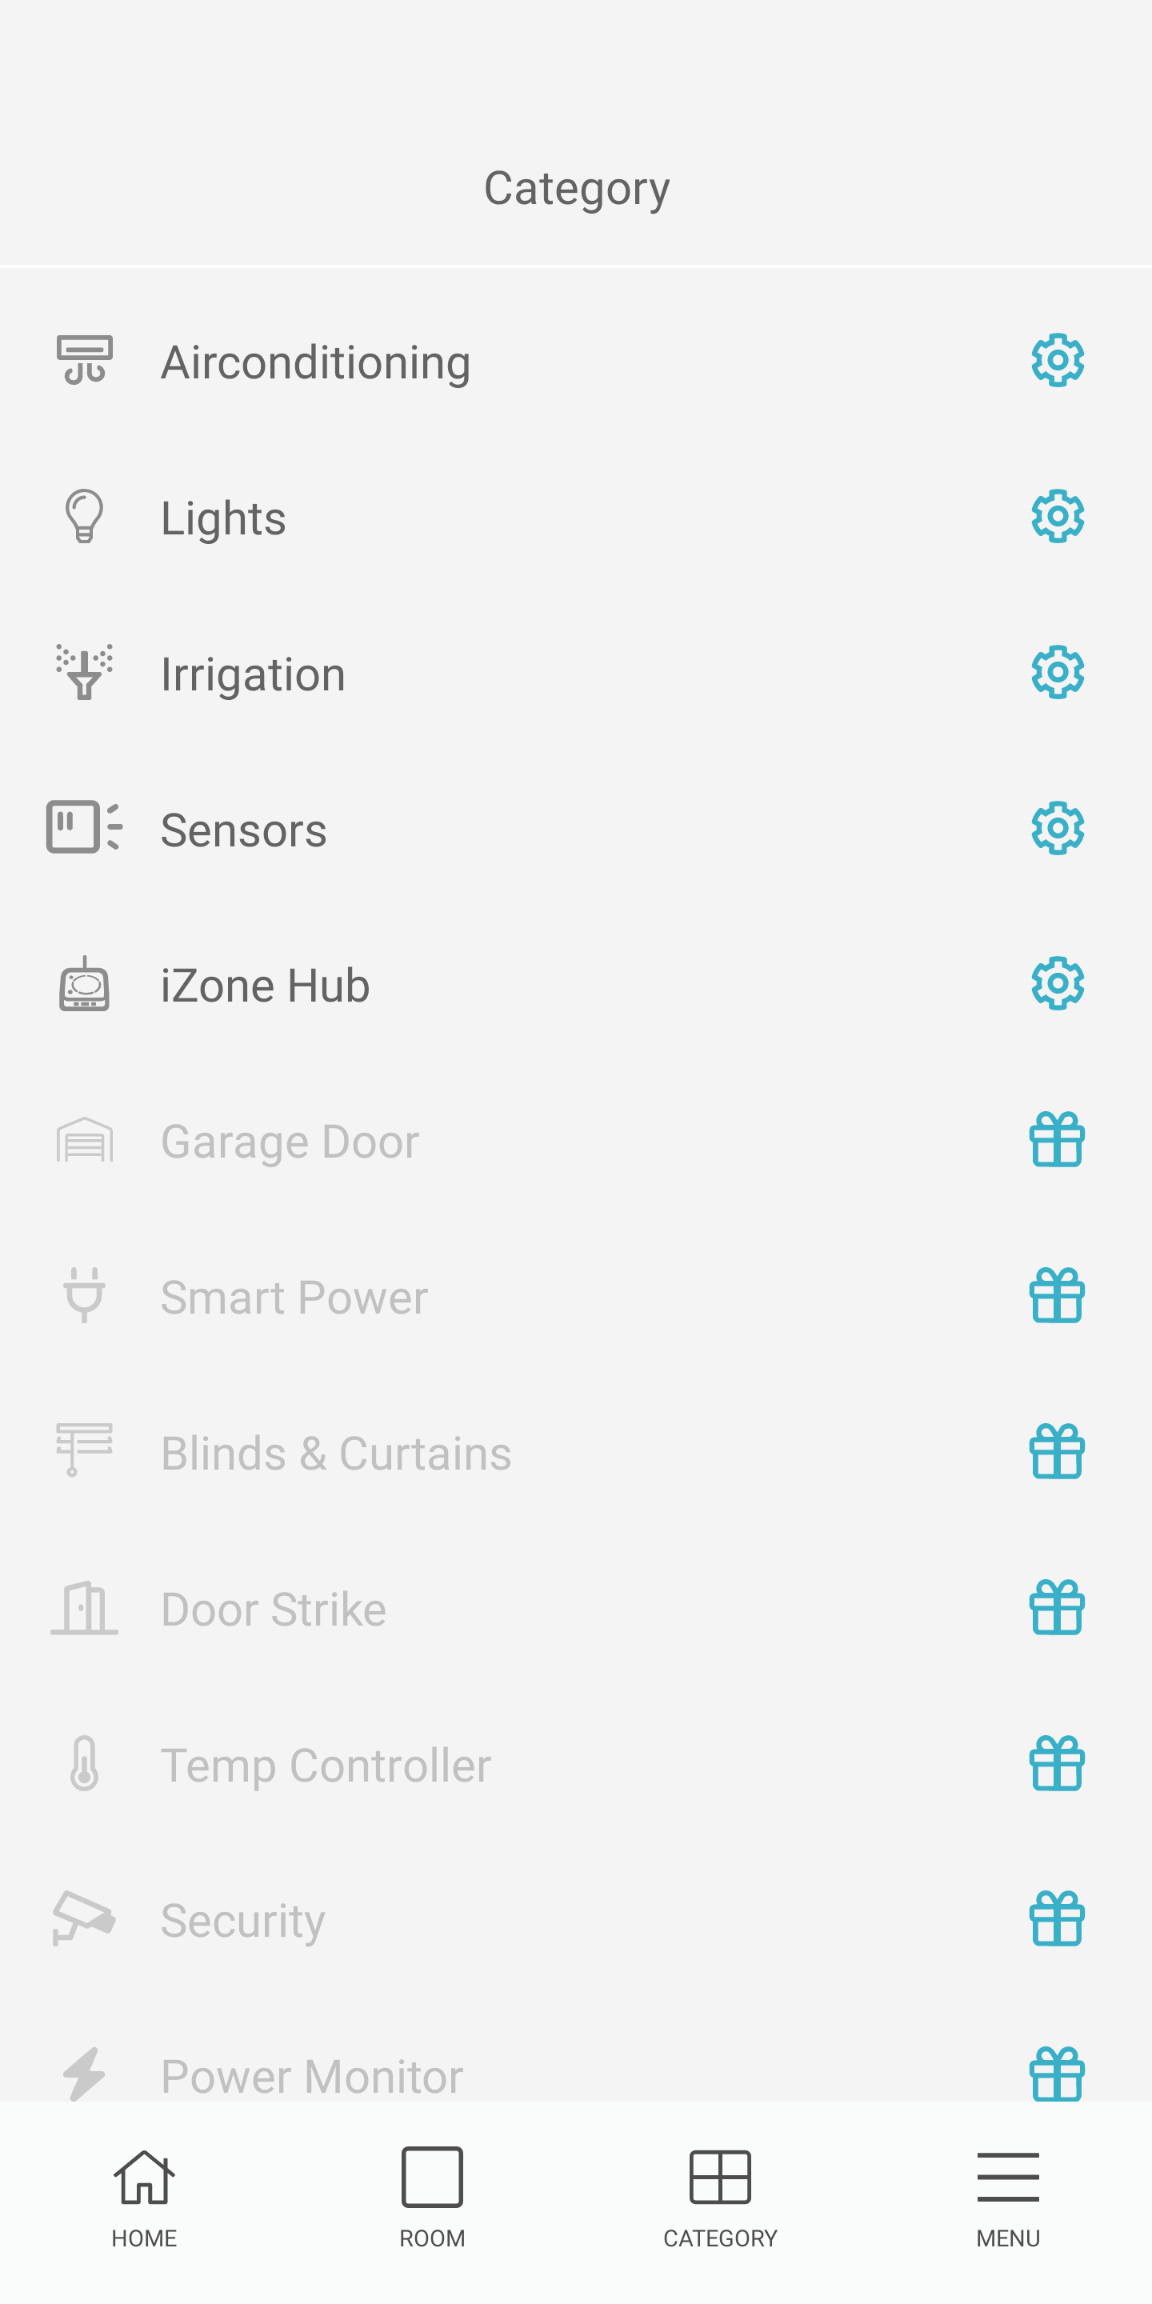
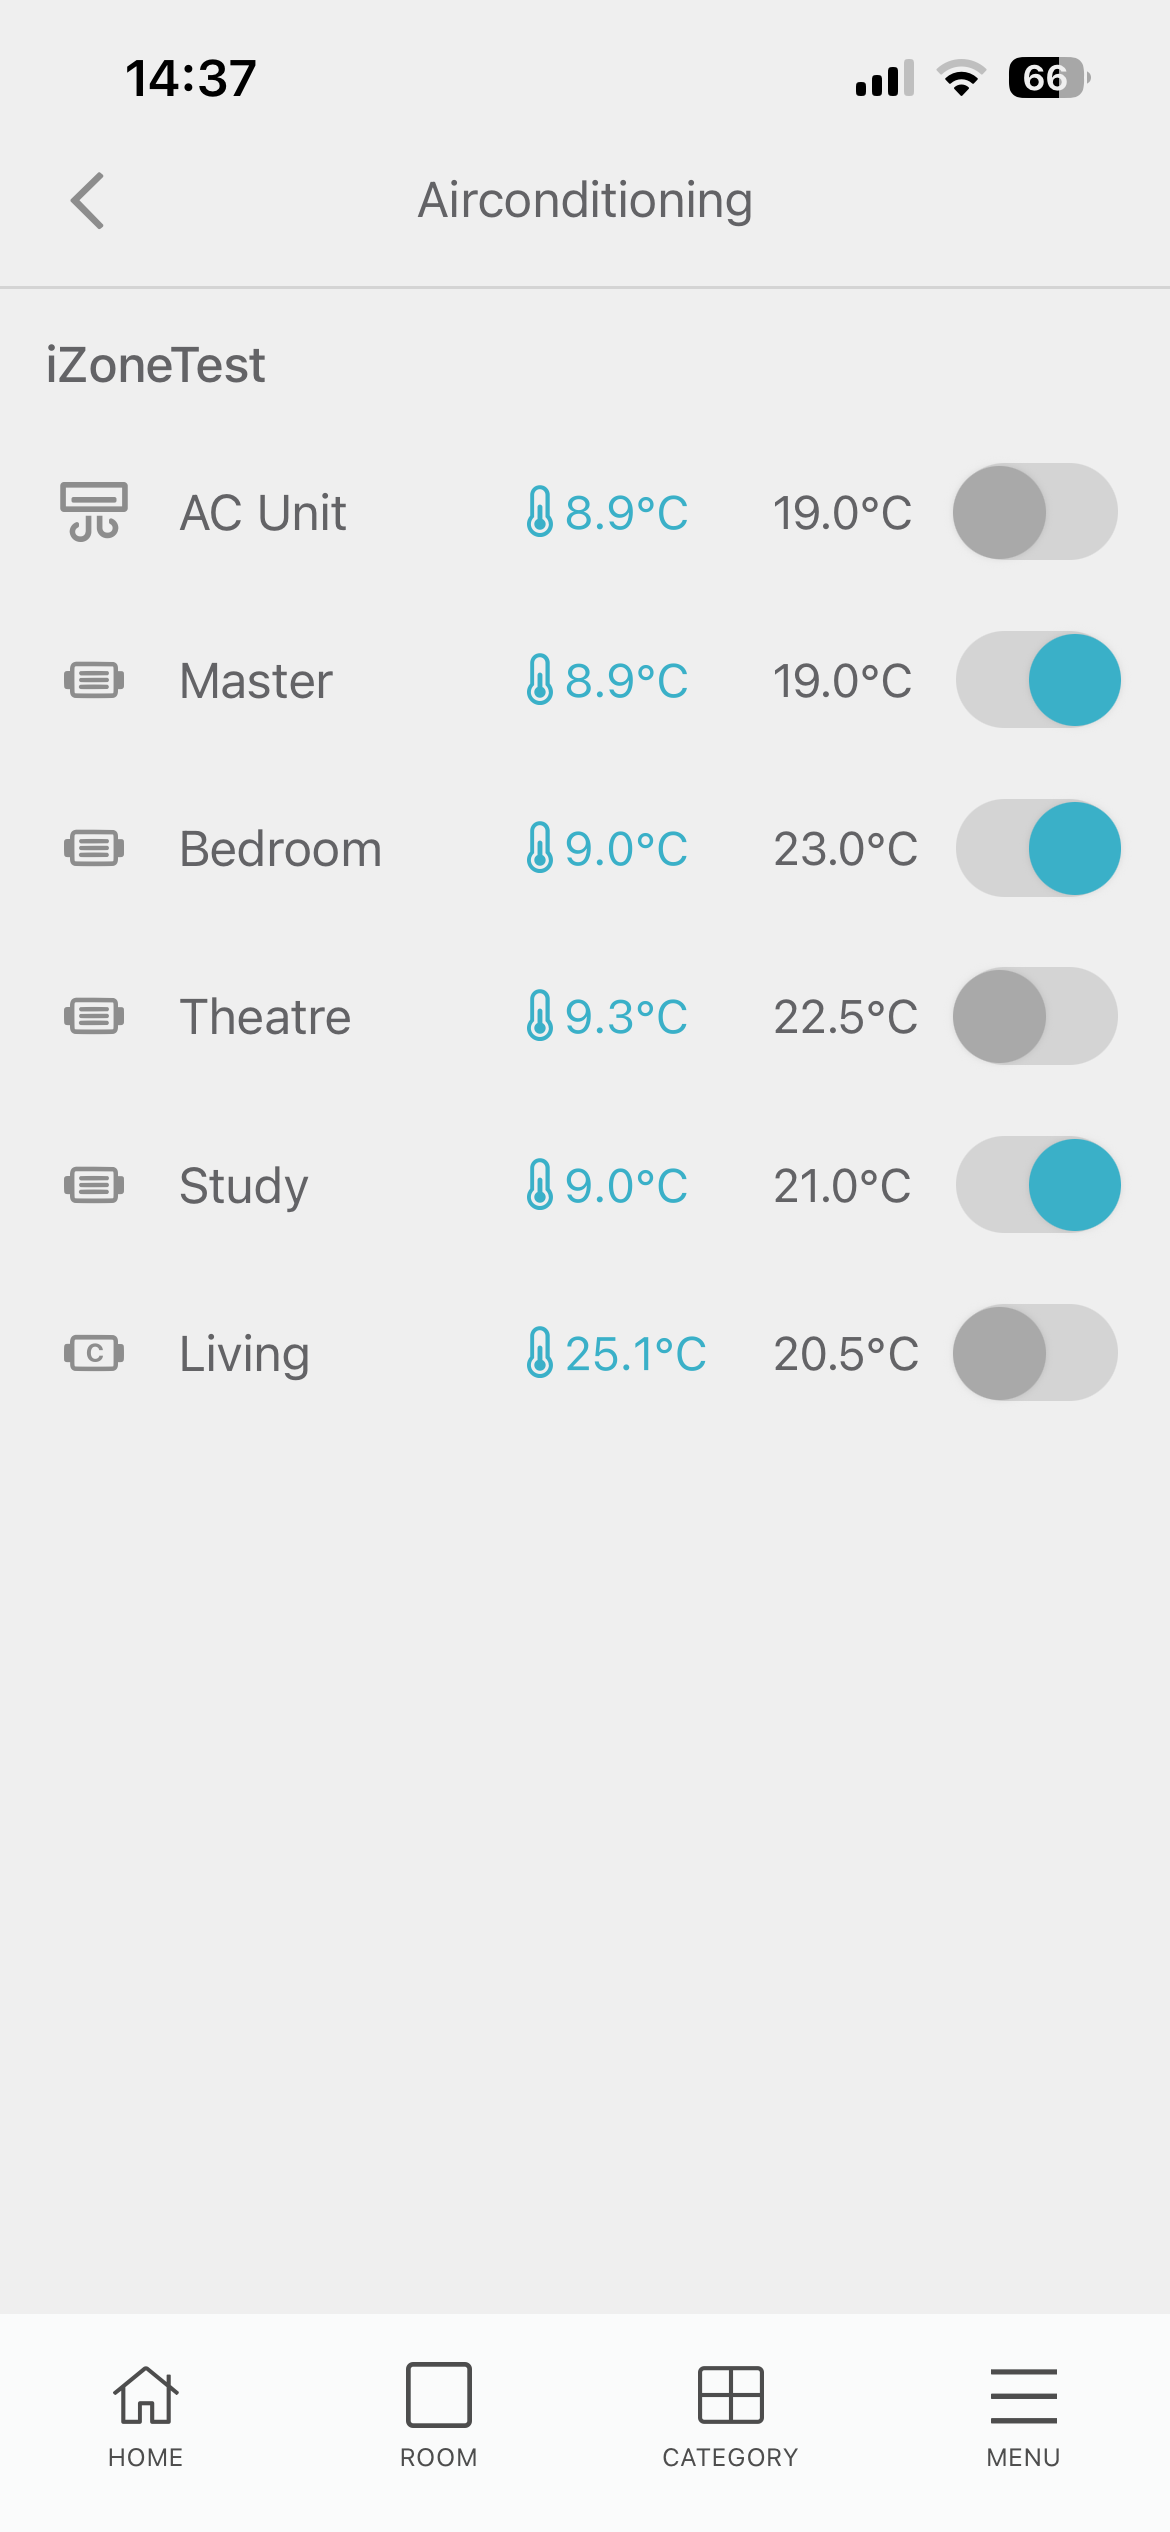
Select this option to see a list of all devices filtered by the device category. When Airconditioning is selected, all the zones together with their actual temperatures and setpoints are shown.
MENU
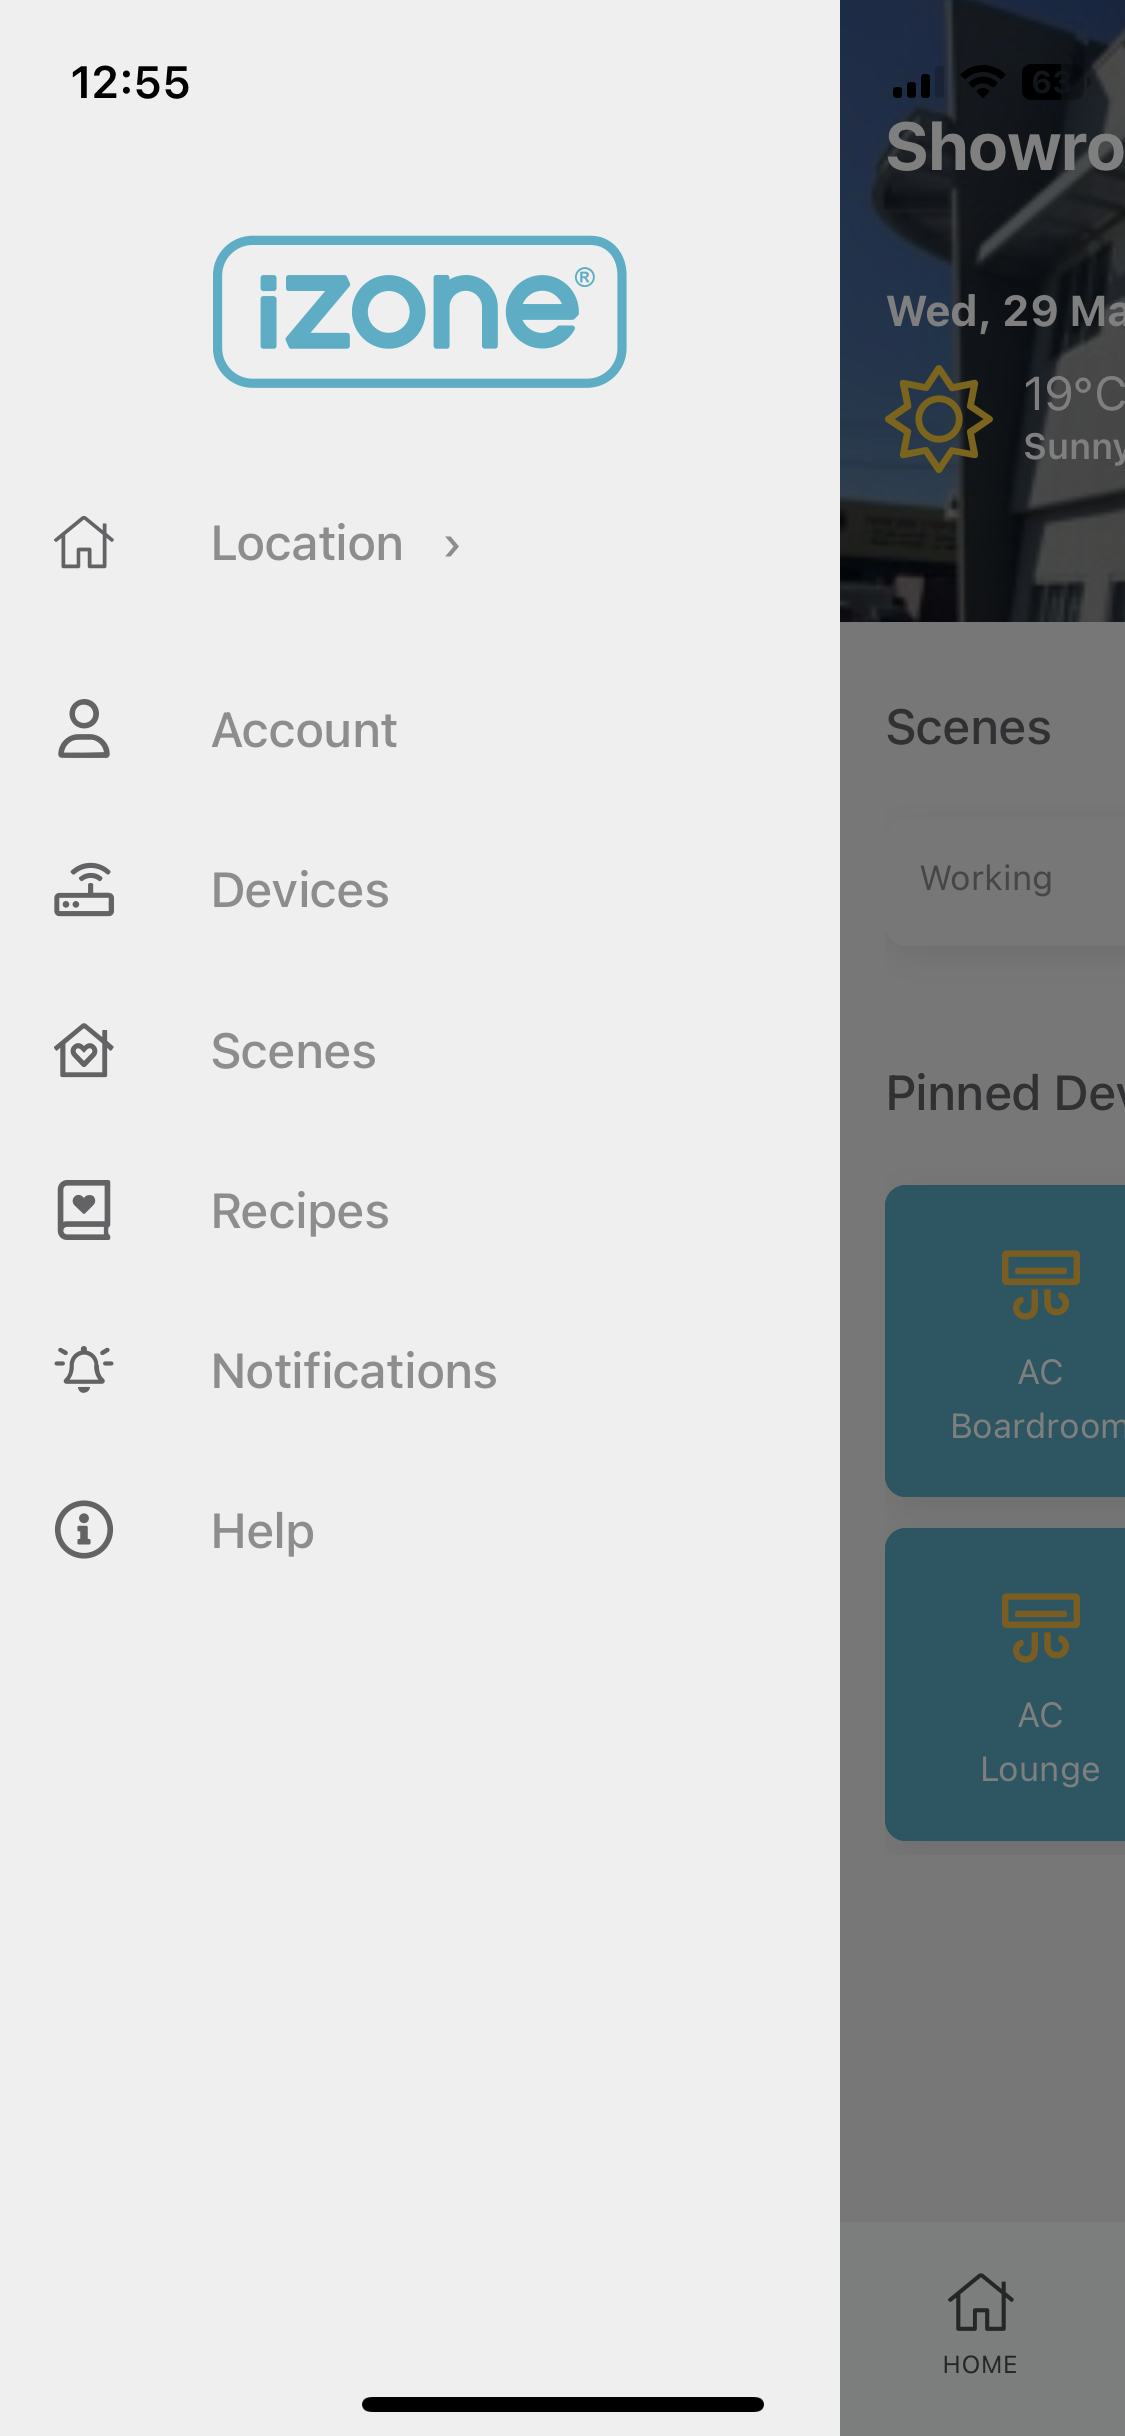
Location
The iZone system allows multiple AC systems to be grouped and managed under defined locations. A location represents a physical site (e.g. a home or property) and can contain one or more iZone systems. Once configured, users can easily switch between locations to access and control the associated systems.
For example, a user may assign:
- AC 1 to Holiday Home
- AC 2 and AC 3 to Geelong Residence
Editing location settings:
- Navigate to MENU → Location
- Tap Settings
- Select the required location
- Modify the relevant parameters:
- Assign Photo - Upload a custom image that will appear on the home screen. Refer to image specifications here.
- Home Background - Configure the background colour displayed on the home screen.
- Name - Set the location name (e.g. Holiday Home).
- Select Systems - Assign one or more AC systems to the location. The order of systems can be adjusted and determines their display sequence when swiping between systems on the home screen.
- Pinned Devices - Configure the display order of pinned devices on the home screen.
- Pinned Scenes - Configure the display order of pinned scenes on the home screen.
- Hide Pinned Scenes - Enable or disable visibility of pinned scene shortcuts on the home screen.
- Filter Pinned by System - When enabled, only zones associated with the currently selected system will be displayed under that system in the header.
- Single Device Homepage - Locks the home screen to display a single selected zone (e.g. Alfresco). When enabled, this zone is always shown when the Home screen is accessed.
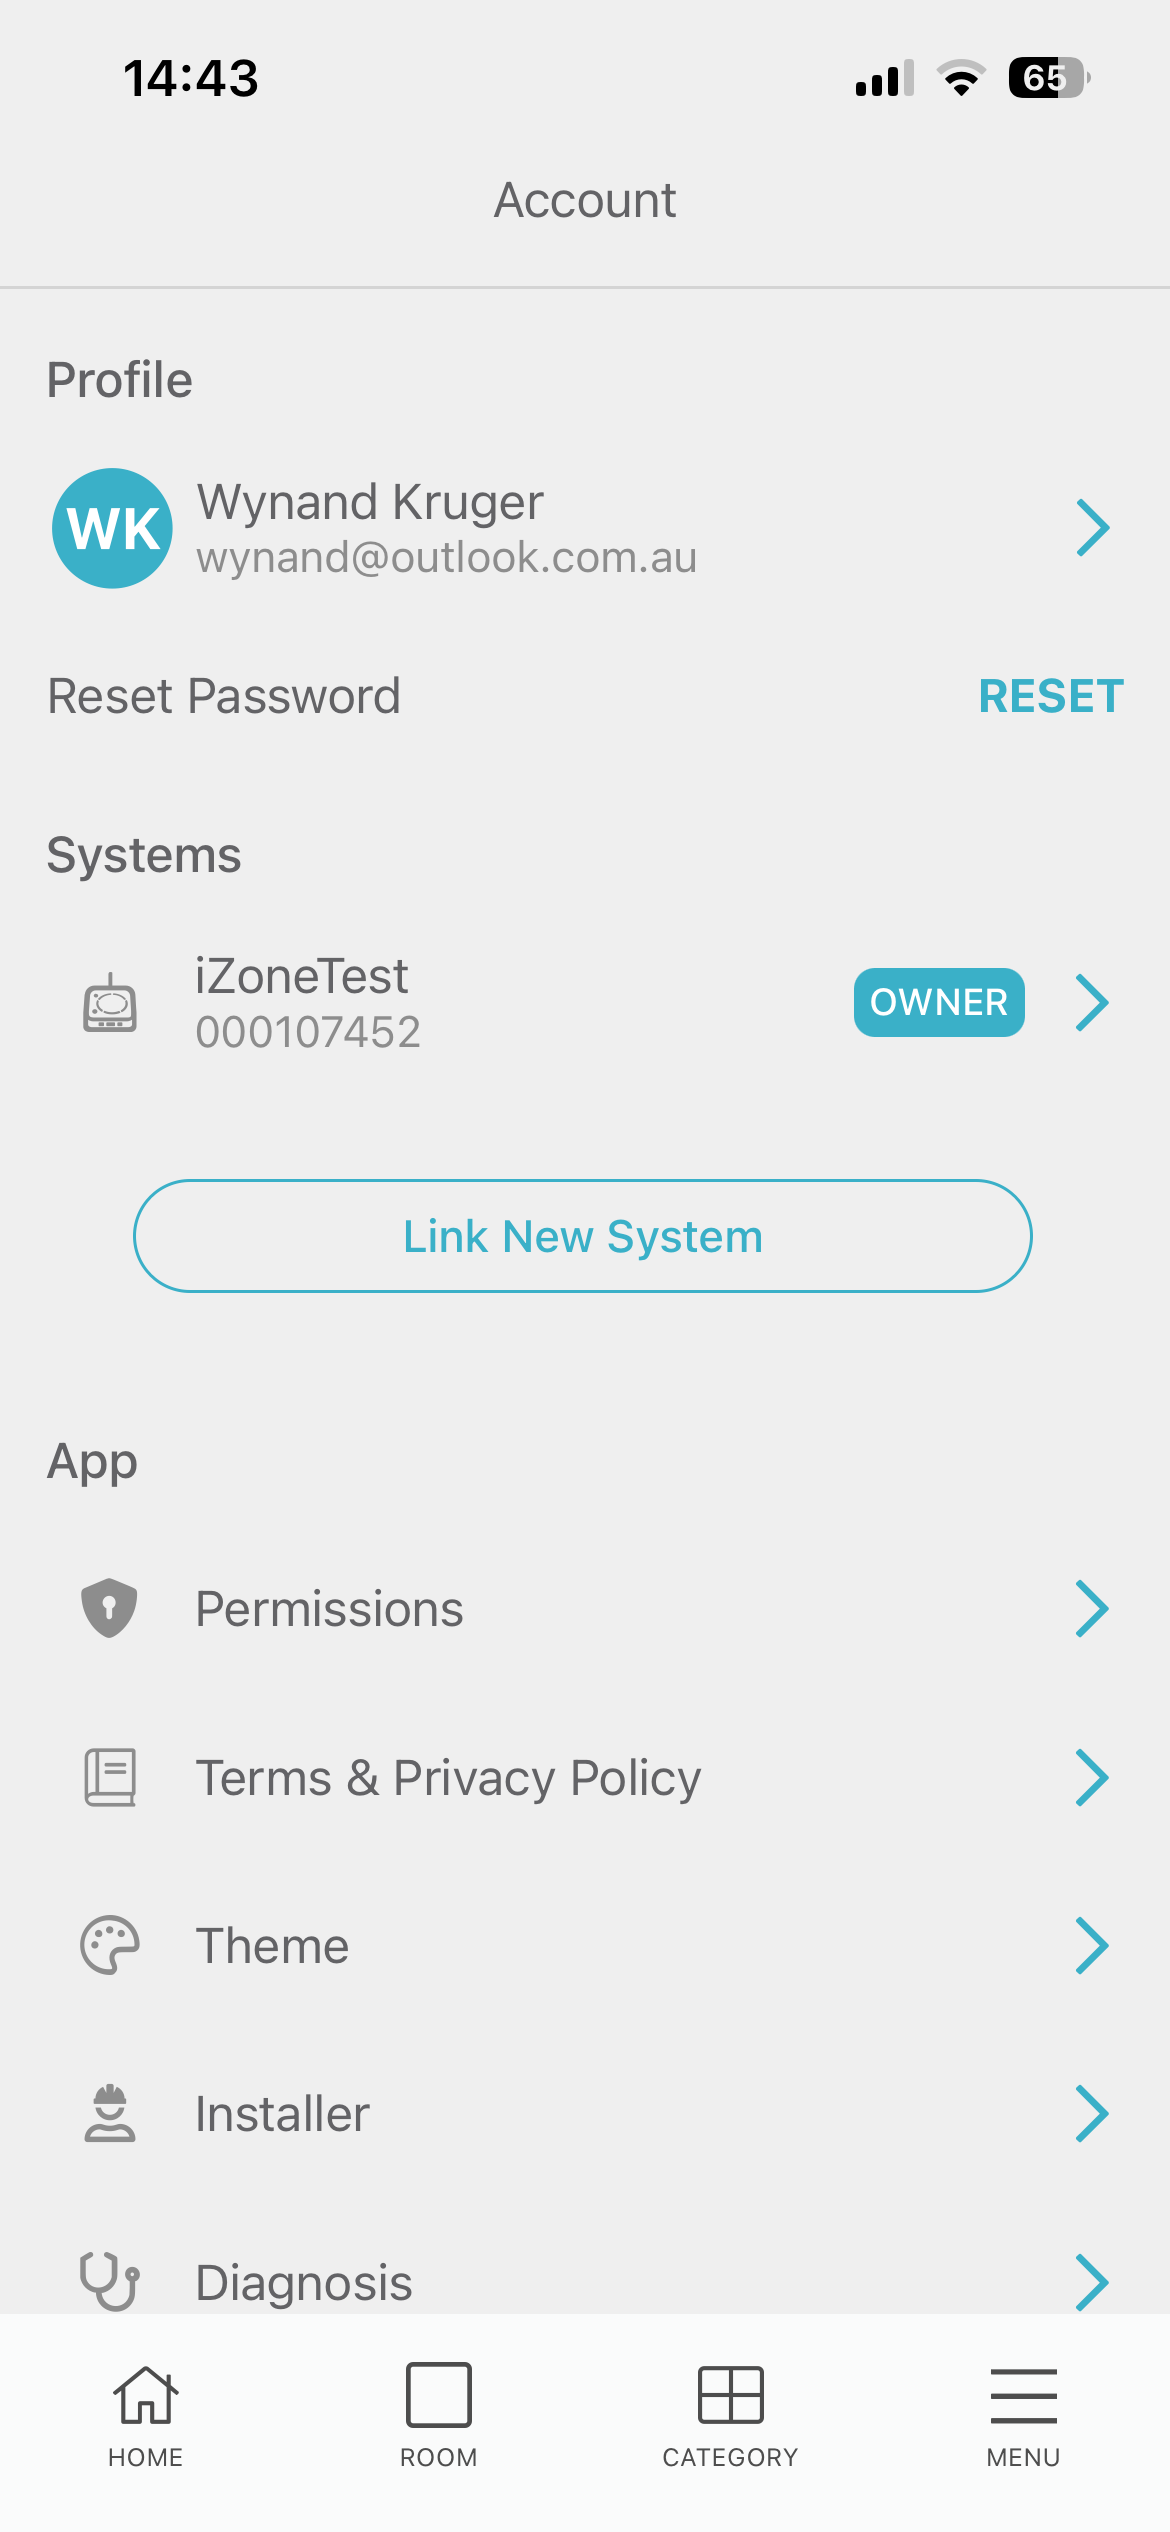
Account
Devices
This view displays all devices currently available within the system, including zones, temperature sensors, lighting and other connected components. To view devices grouped by type, refer to the CATEGORY section.
To add a new device, tap Add Device (+) in the top-right corner, select the appropriate category and device type, and follow the on-screen prompts.
For example, to add a zone temperature sensor tap MENU → Devices → Add Device (+) → Airconditioning → Temperature Sensor → Sensor with Zone Switch, then follow the prompts to complete setup.
Scenes
A scene is a predefined set of actions applied to multiple devices simultaneously, such as setting the kitchen to 21°C, closing all other zones and dimming theatre lights to 30%. Scenes are executed as a one-time event. Once triggered, the system does not maintain or enforce the scene state and all devices can be manually overridden at any time.
Scenes can also be scheduled. A scene may have: Start time only - the scene is triggered at the set time but can be changed at any time after that Stop time only - actions are applied at the stop time (e.g. turning the AC system OFF at 16:00) Start and stop times - actions are applied at the start time and reversed or modified at the stop time
Creating a scene:
- Tap on MENU → Scenes
- Tap on the Add Scene button
- Enter scene name e.g. Morning routine
- Tap on Add Device and select a zone e.g. Living room
- Tap on the orange exclimation icon to configure the required setting (e.g. setpoint/Climate/Open)
- Repeat for any additional zone
- Tap Save Scene
Scheduling a scene:
- Tap on MENU → Scenes
- Tap on the name of the scene
- Scroll down to schedule a scene
- Enter start time, end time and repeat days
- Tap Save Scene
- A blue clock icon will appear next to the scene name, indicating that the scene is scheduled.
Recipes
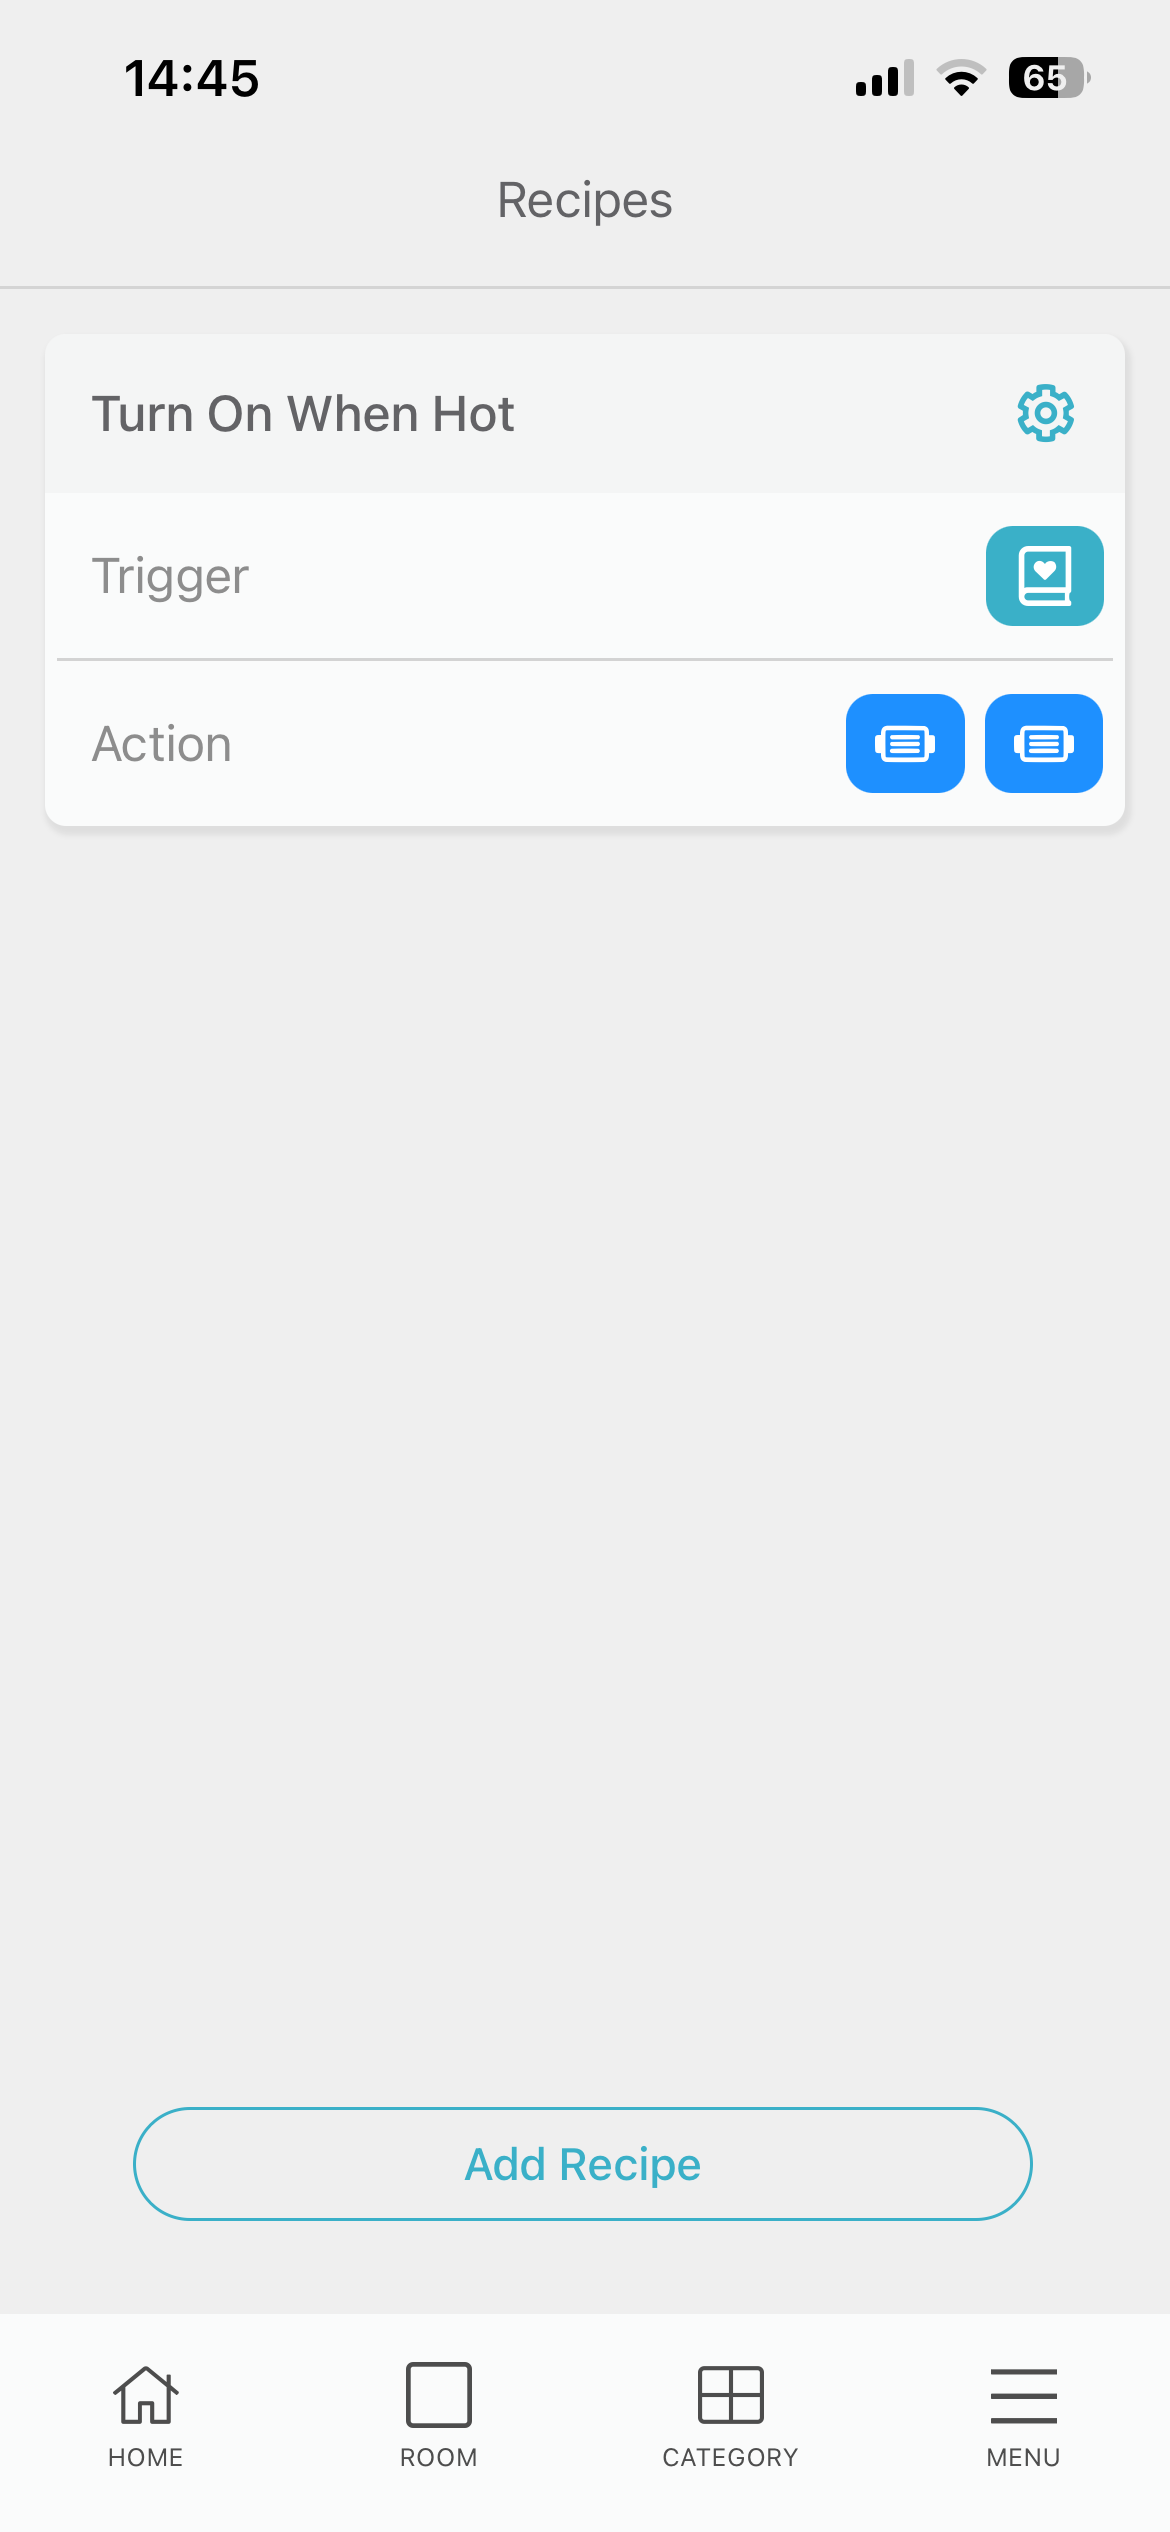
Recipes define automated behaviors by linking triggers (events that start a process) to actions (tasks performed in response). A trigger could be a temperature threshold, time of day, or user command, while actions might include adjusting a zone's setpoint, switching modes or sending a notification.
Notifications
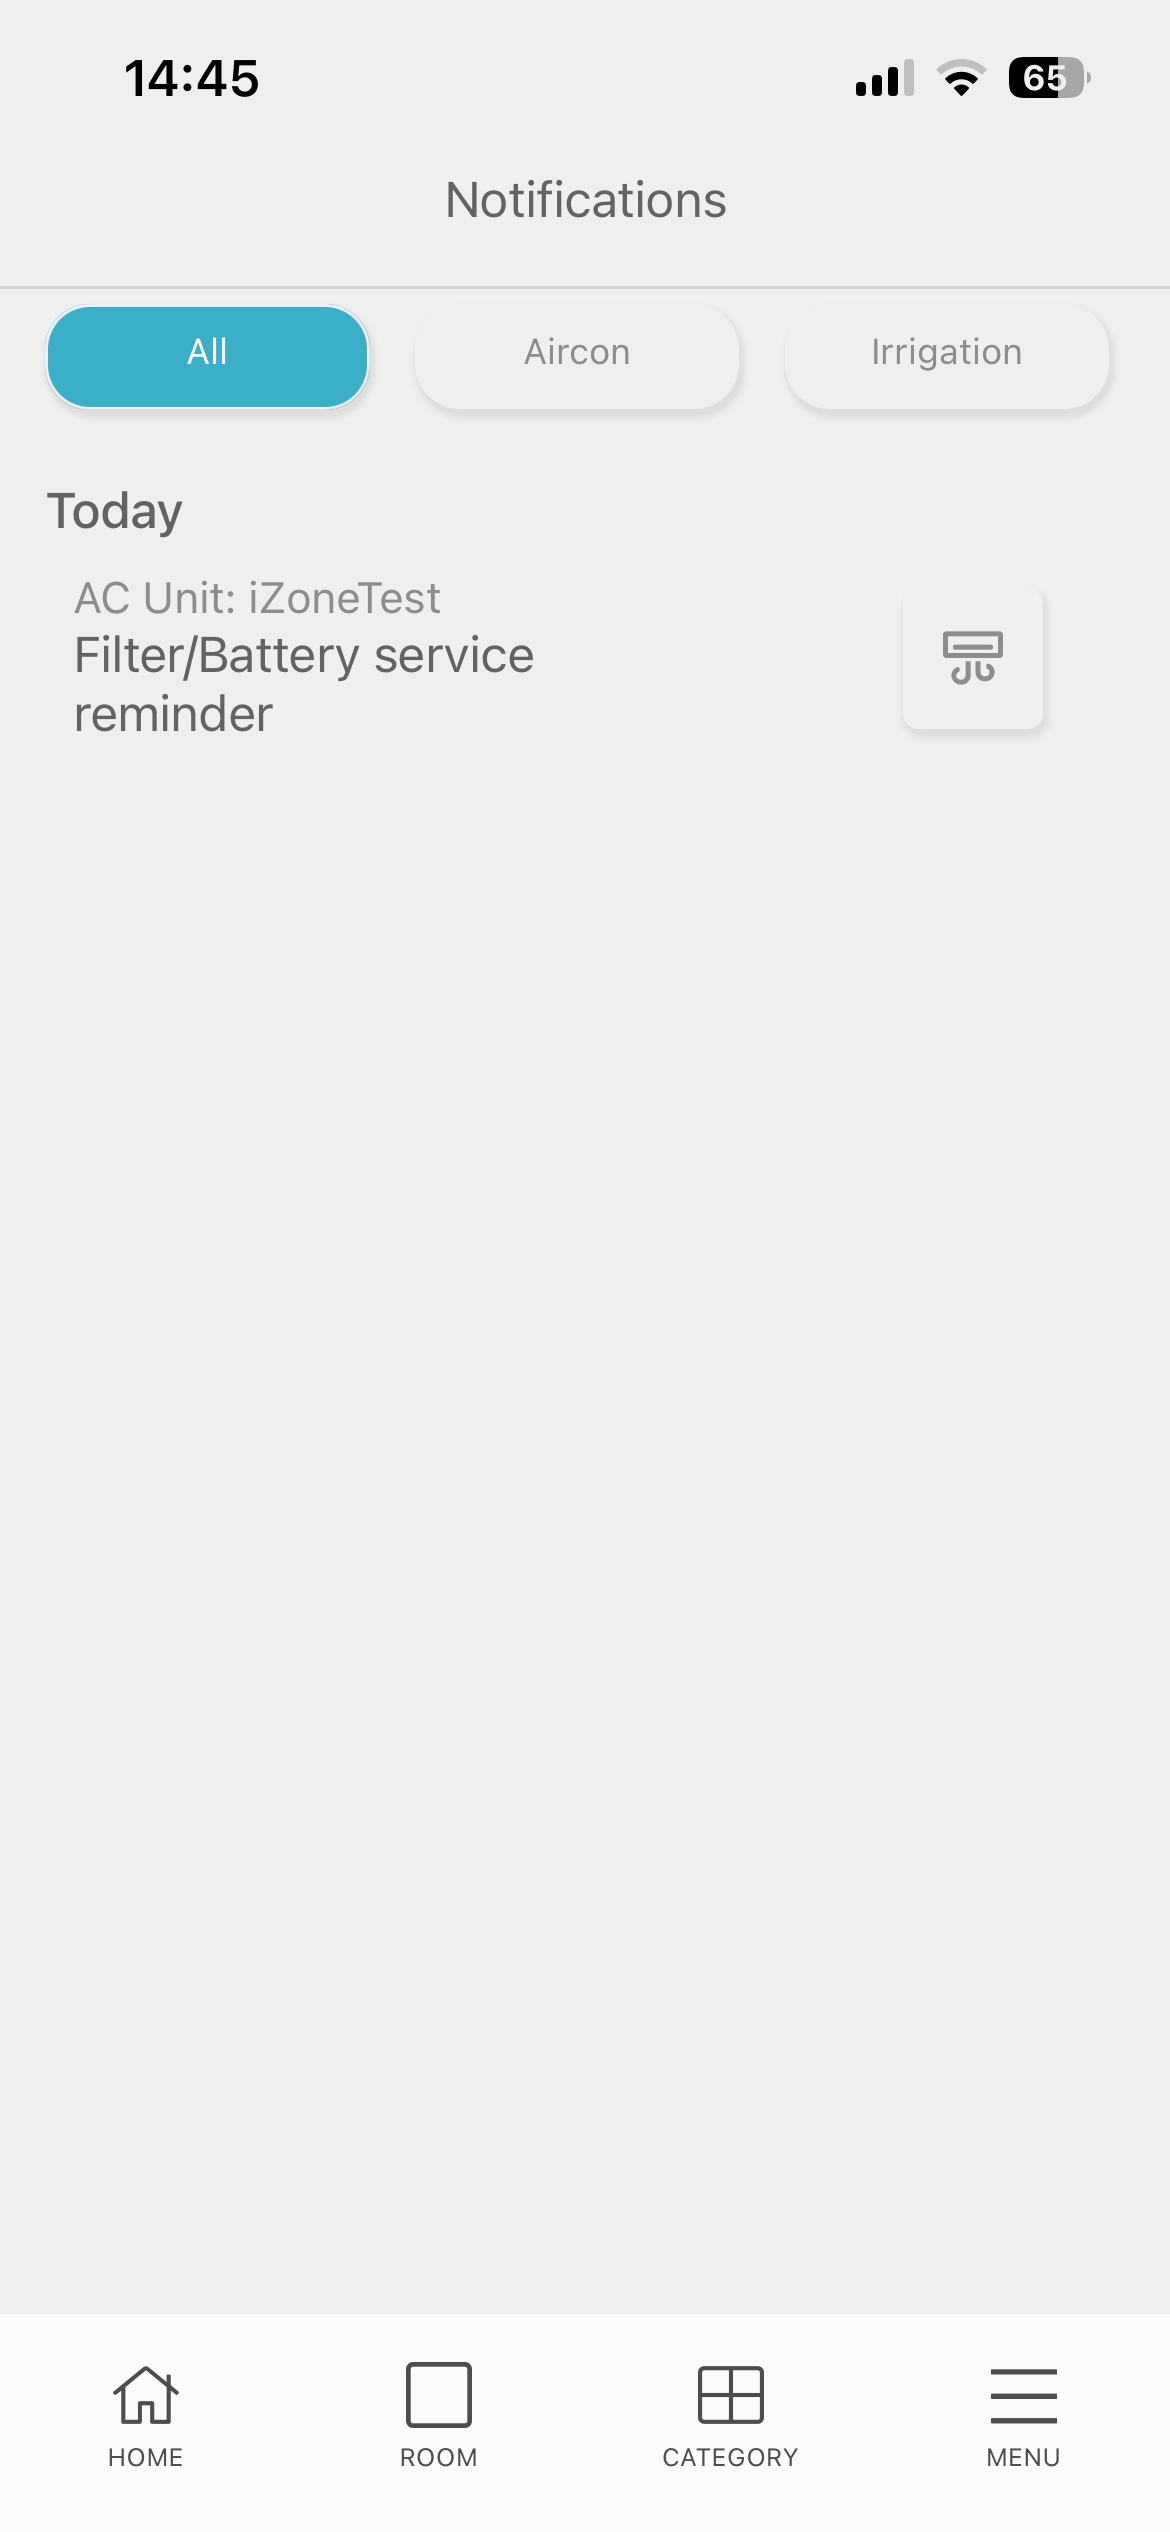
Lists all the notifications triggered by your iZone system.